They generally require you to find specific locations in the area and to do some spatial reasoning.
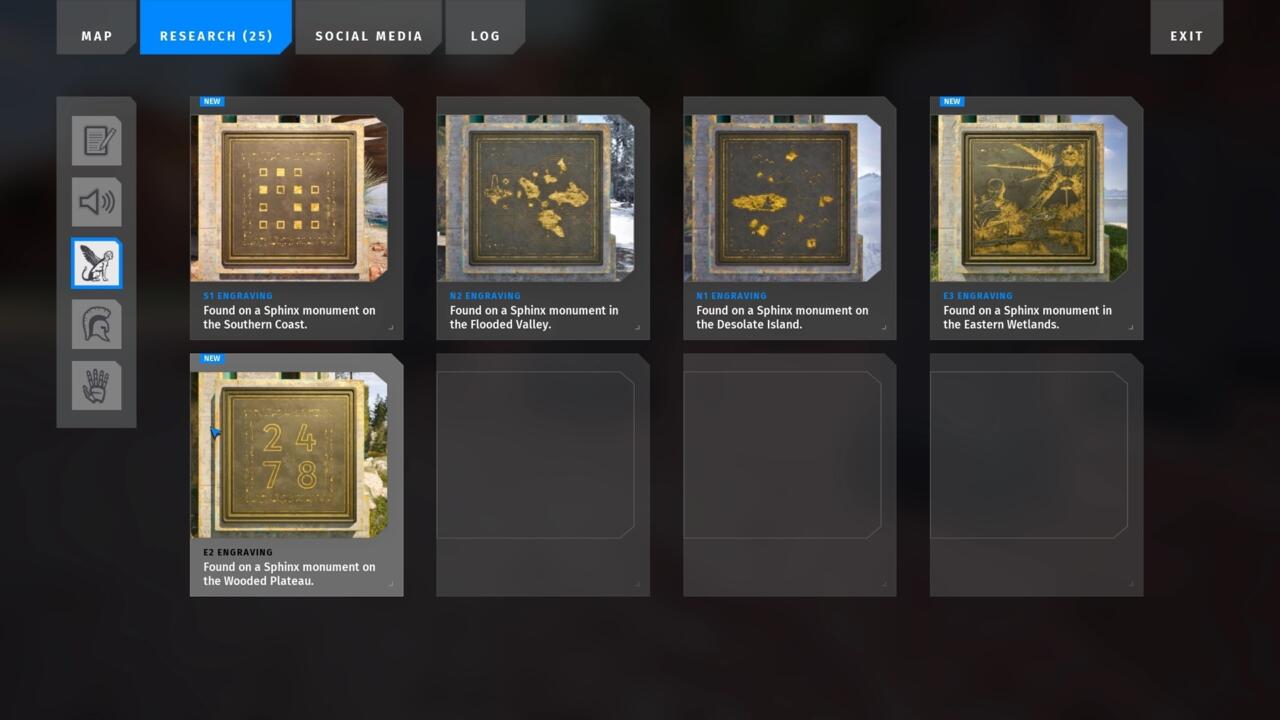
East 2
Find the Sphinx monument near the no.
3 puzzle room, to the right of the transit system when you arrive.
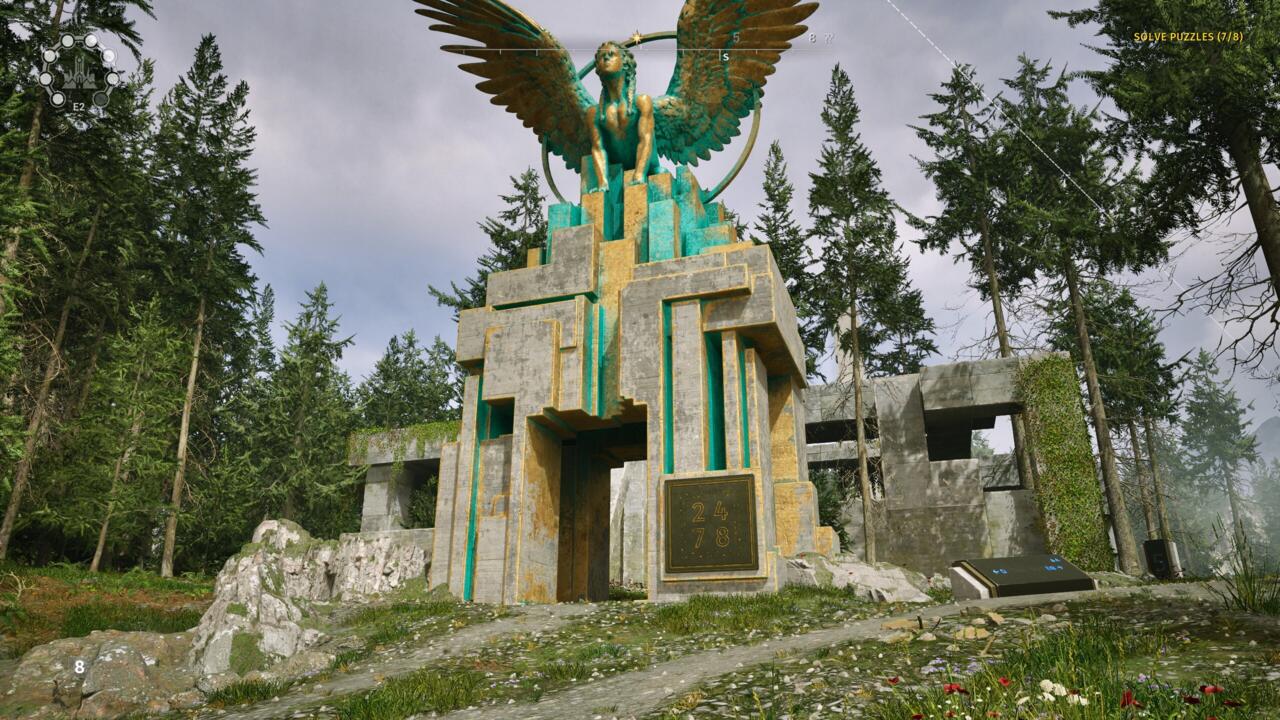
Once you’ve flipped all four switches, return to the monument to claim your star.
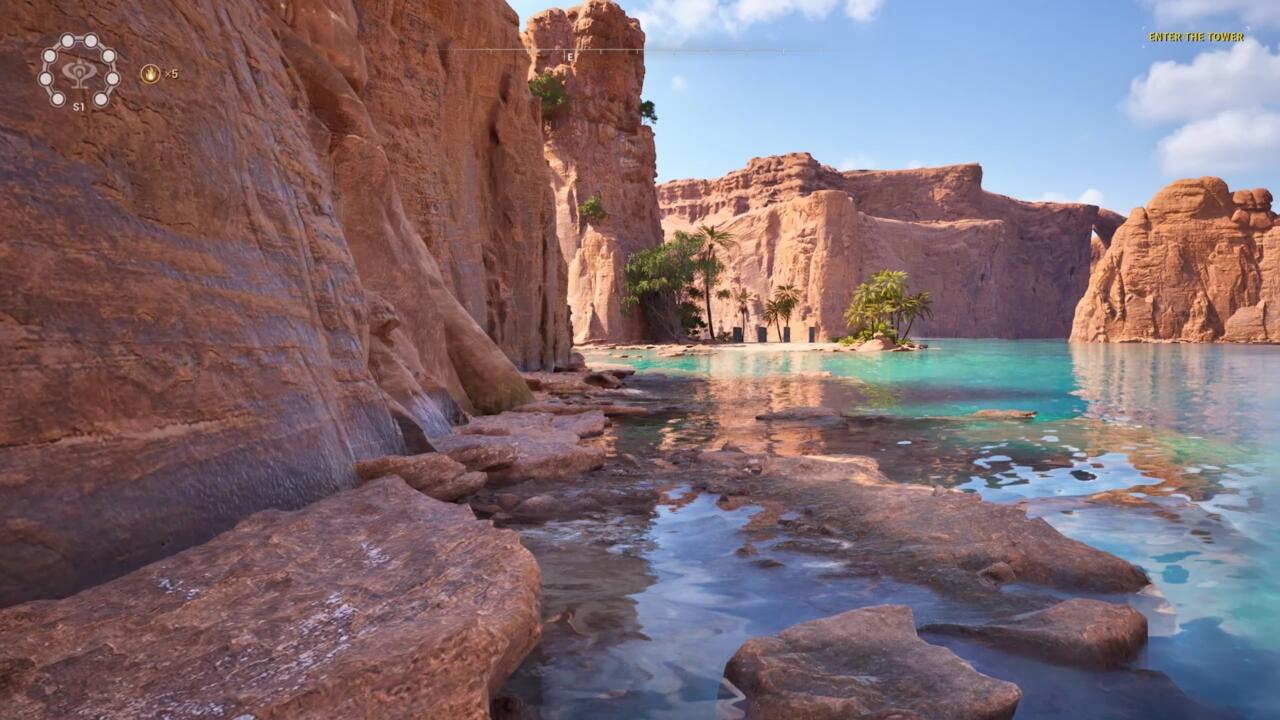
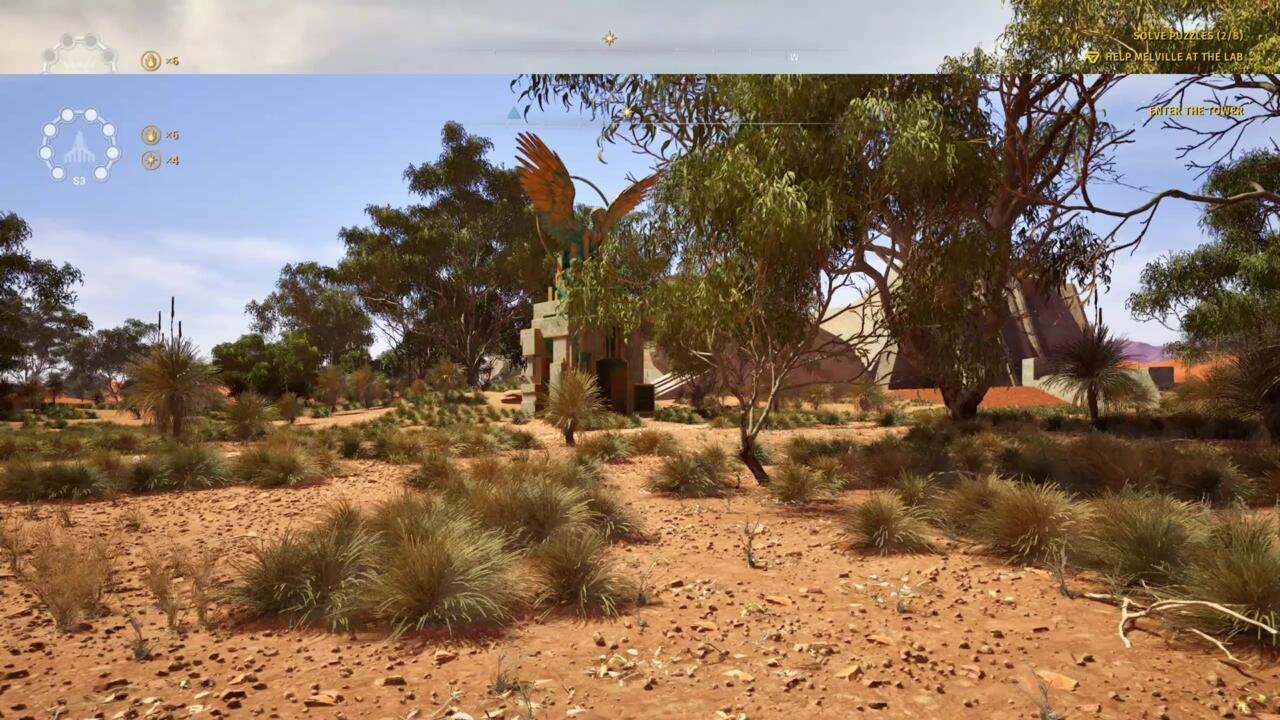
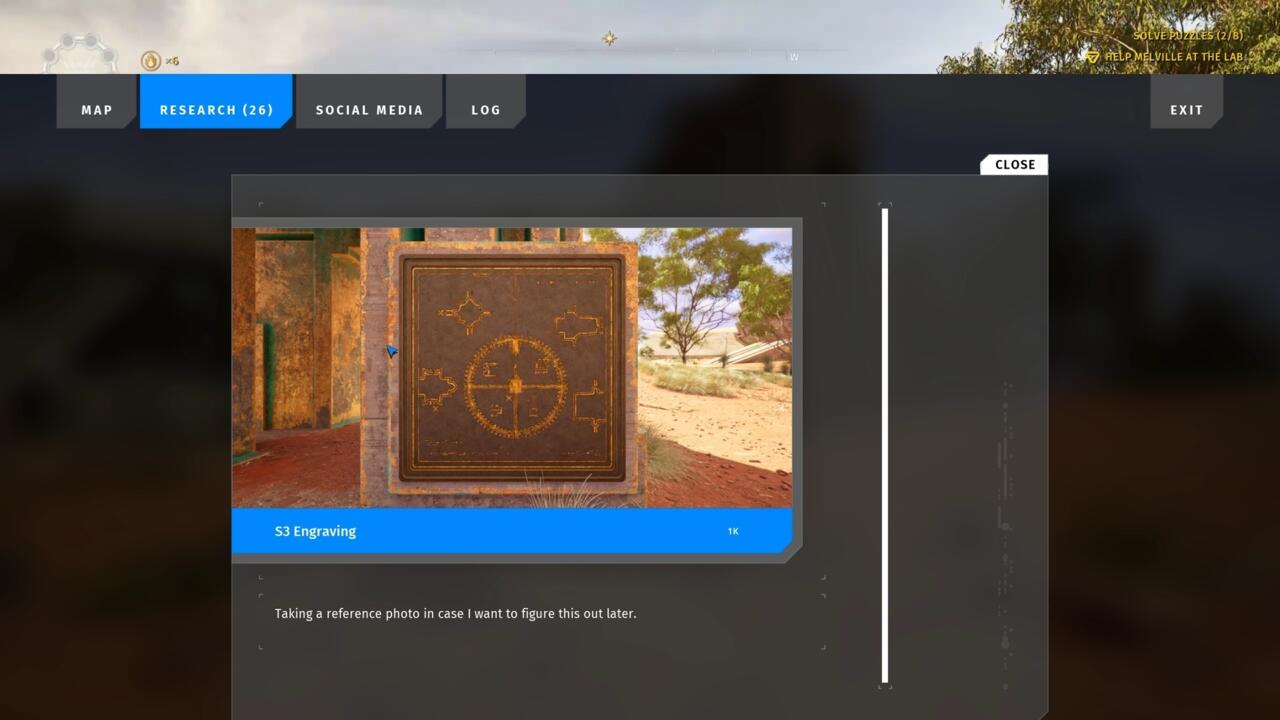
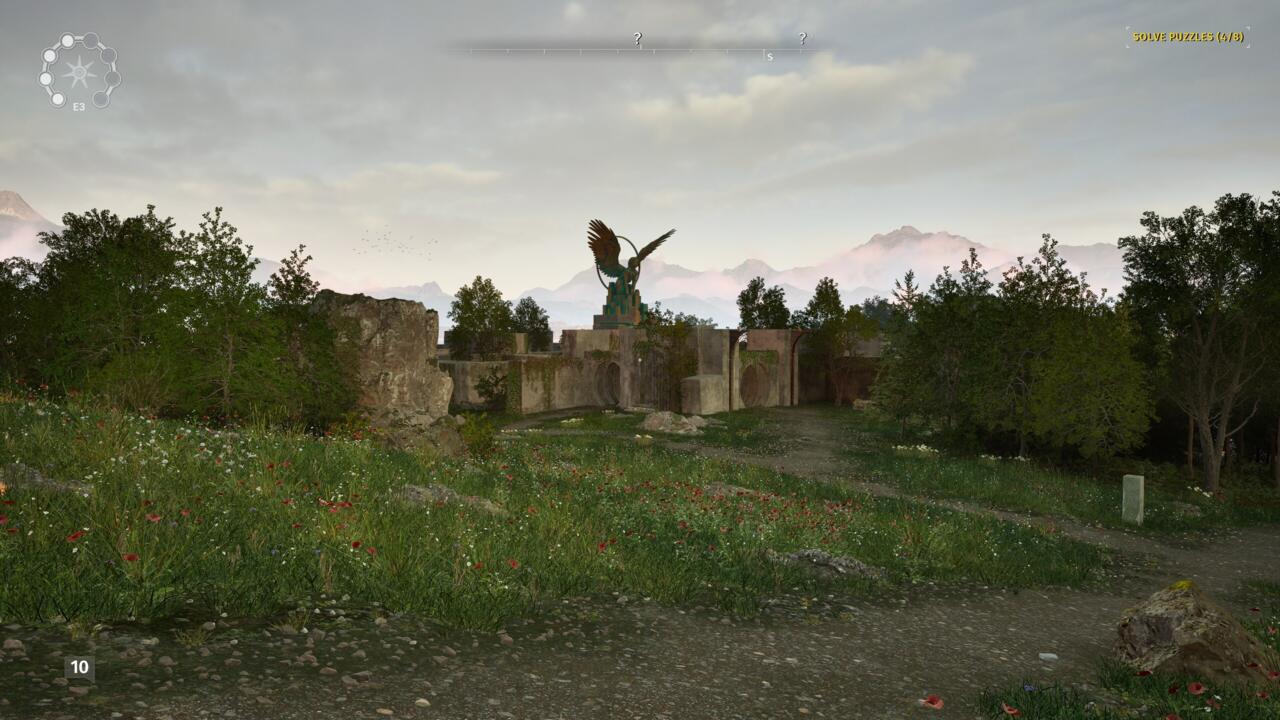
East 3
The Sphinx monument here is near the no.
An X marks the spot you’re looking for to solve the puzzle.

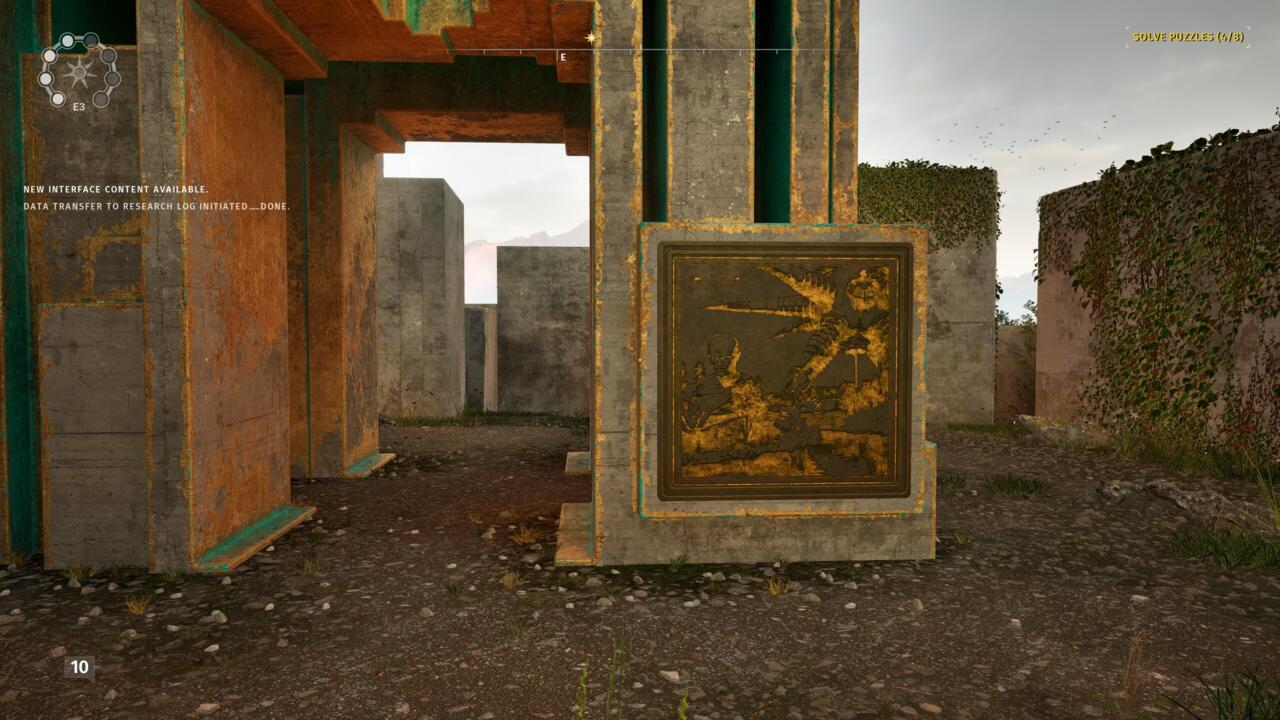
Look for a small overlook area with a palm terminal on it.
You’ll find a switch to flip on one of these pillars that will solve the puzzle for you.
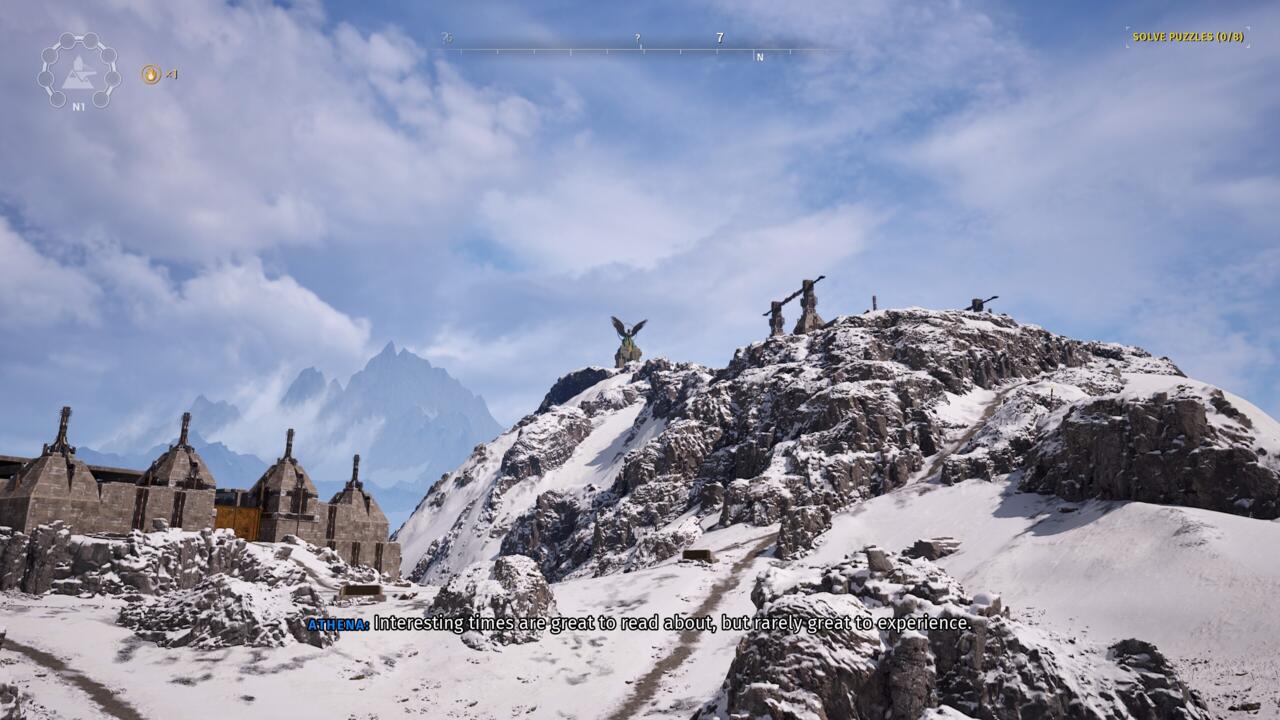
North 1
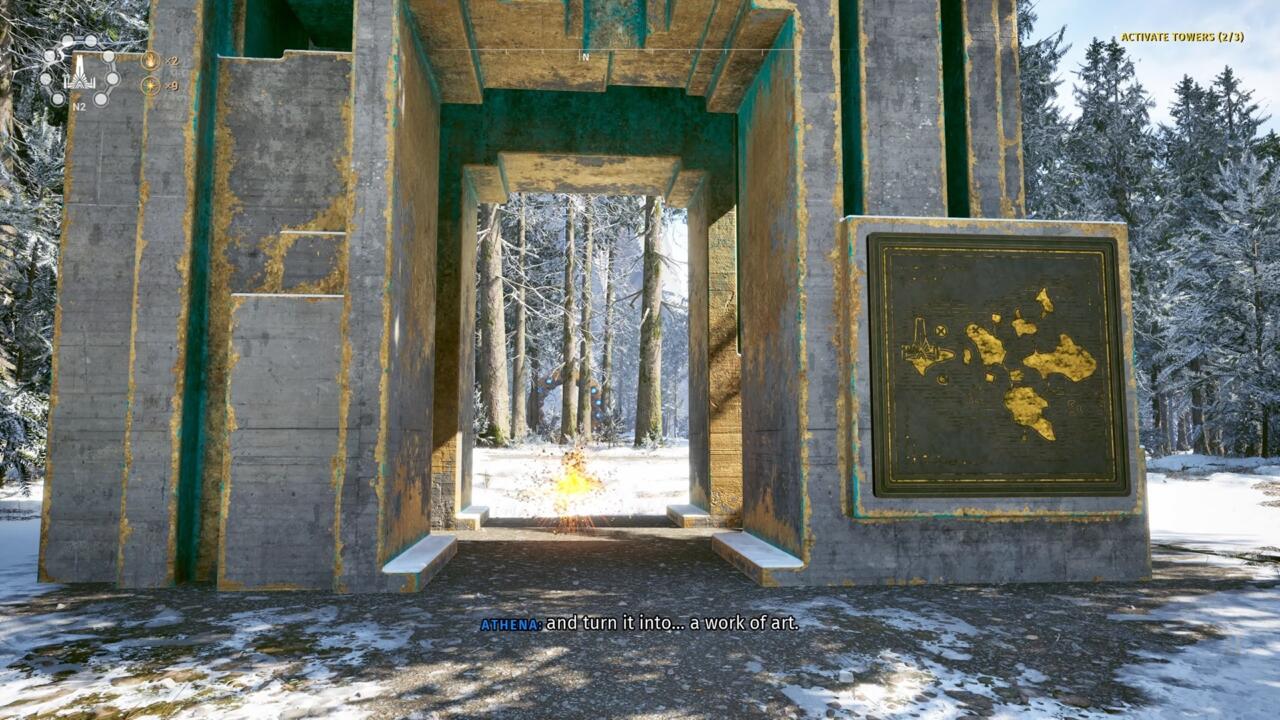
Look for the Sphinx monument at the top of the mountain behind the no.
The plaque on it shows a map of the area.
This particular puzzle is confusing because the map is flipped and not particularly helpful.
Start with puzzle room no.
Now head toward the no.
Expect to do some jumping over some rocks.
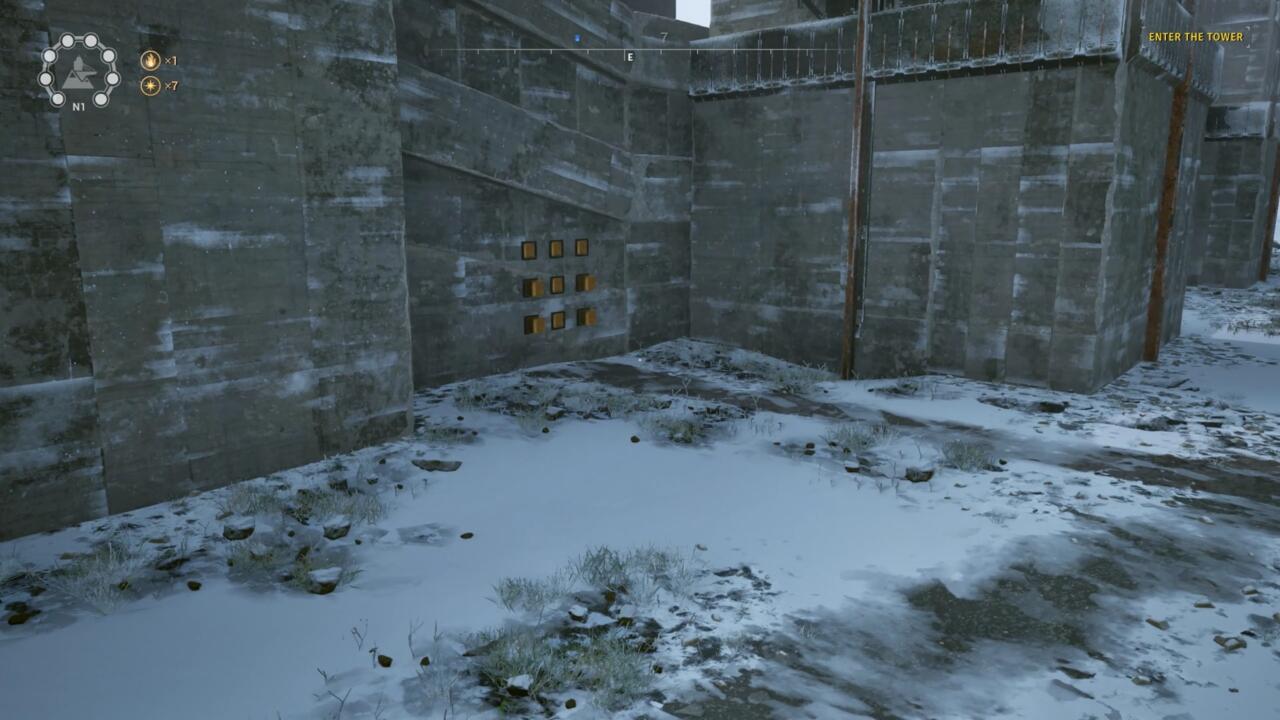
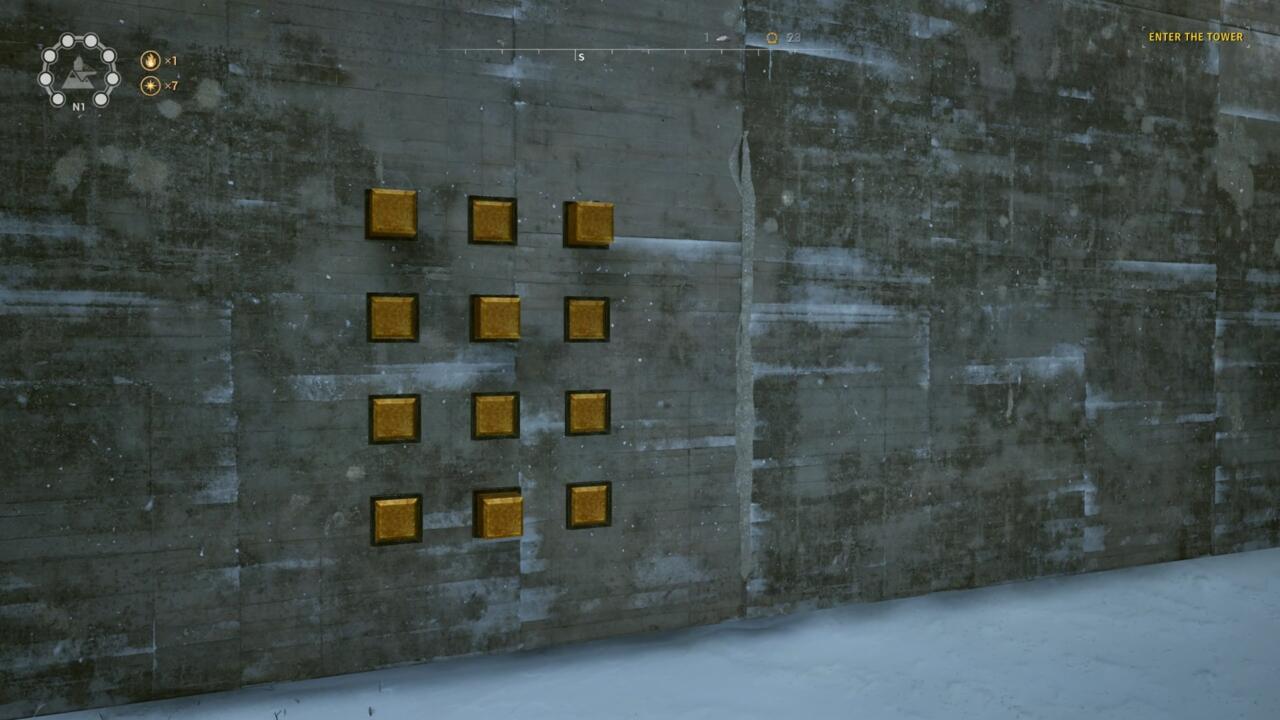
This set is 12 cubes total.

You’re forming an A pattern here.
You’ll find the cube puzzle on the back corner of the puzzle room.
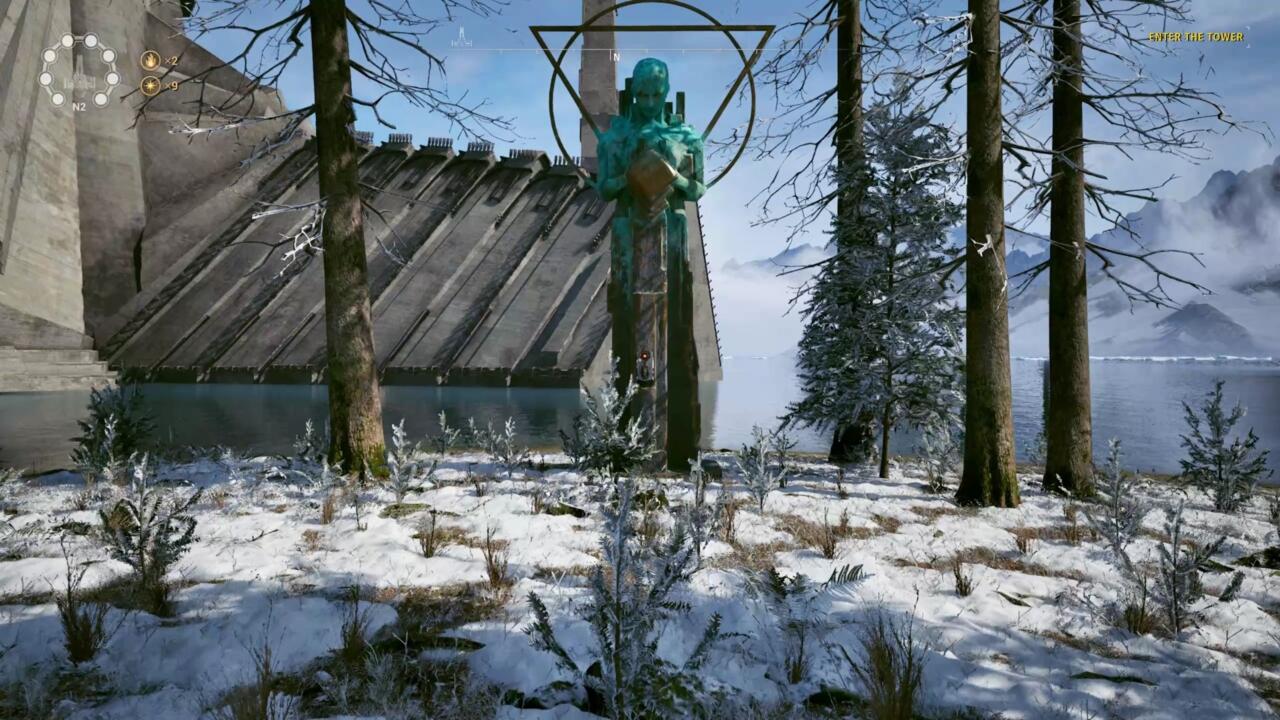
North 2
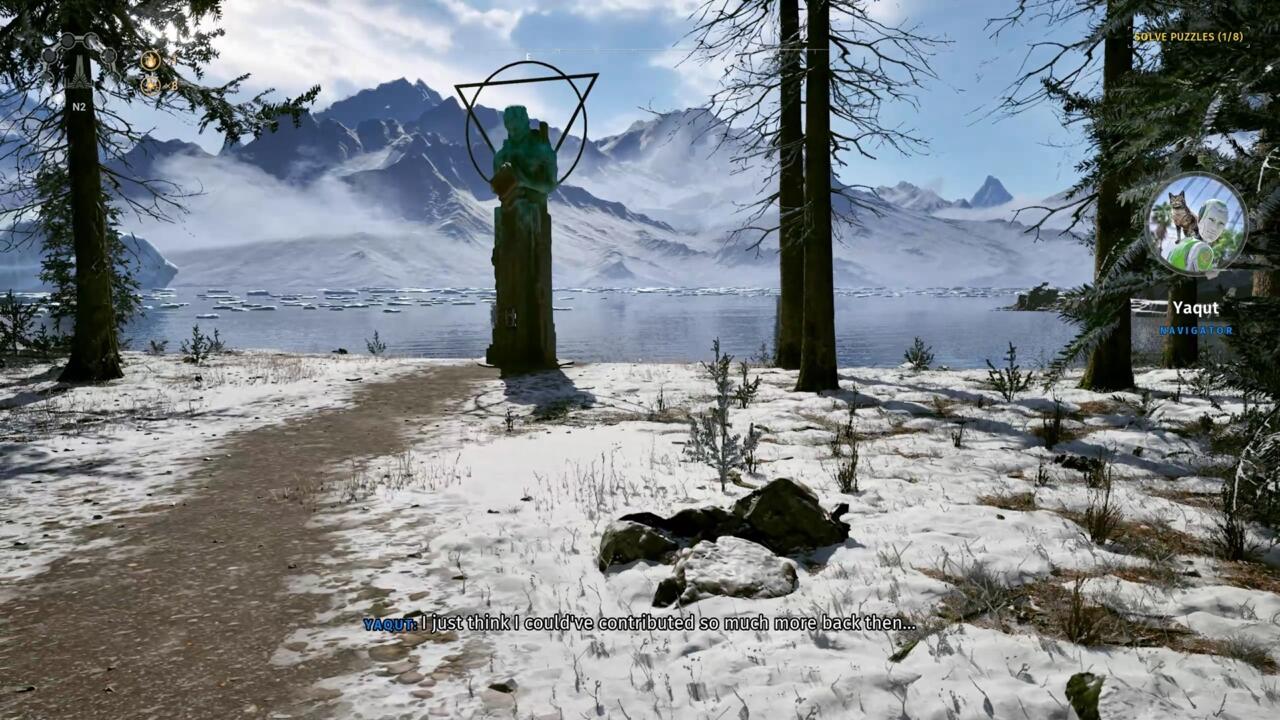
Your Sphinx monument is right in front of the transit station as you arrive.

Use the sandbar that stretches from the beach you’re on to reach the island.
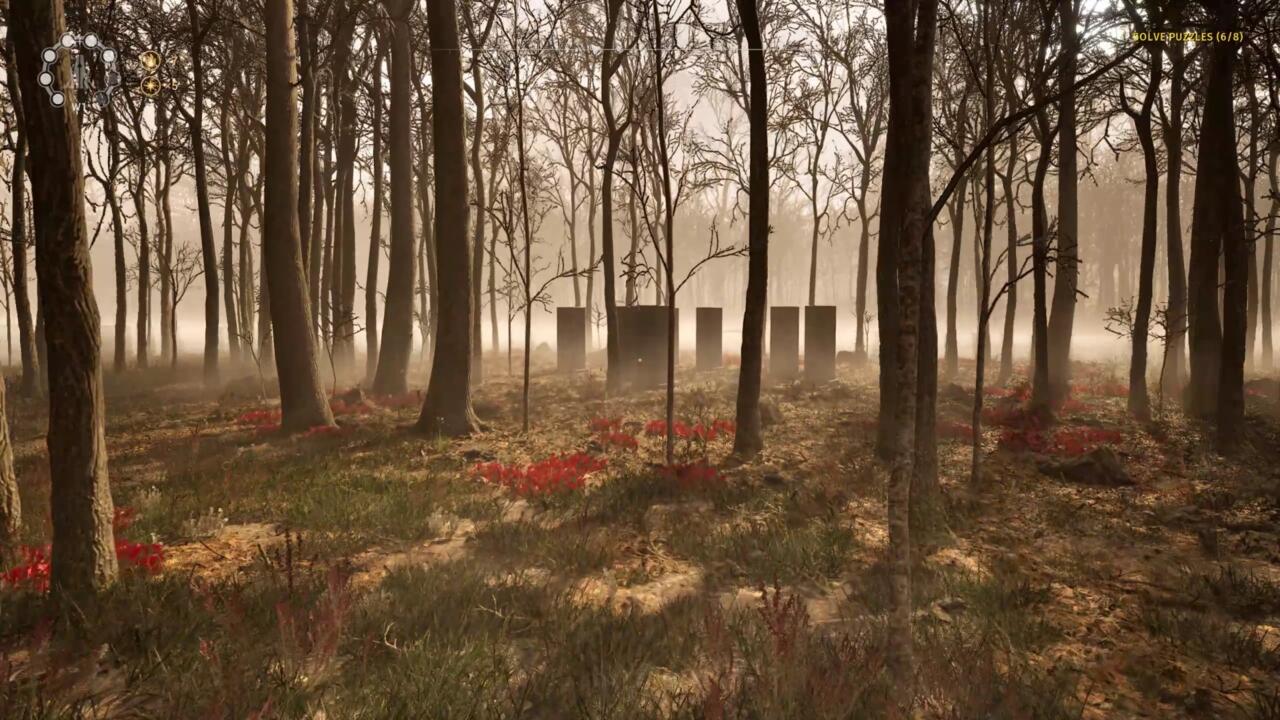
Look for the switch on a statue.
This will lower those pillars into the ground.
When all the correct pillars are lowered, the puzzle will be complete.
Look for the monument near the no.
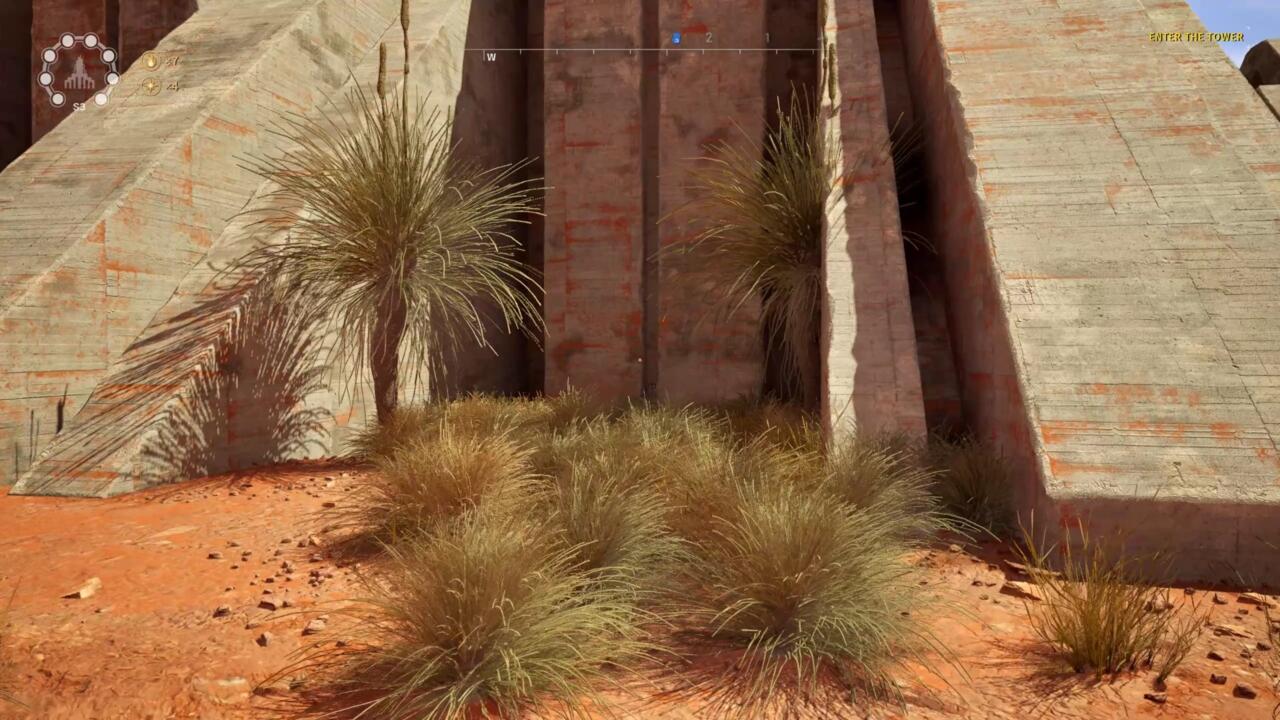
The first switch on the southern side of the exterior wall of puzzle room 1.

You’ll see big angled concrete pillars.
Look for the switch nestled onto the one on the right as you’re facing toward the puzzle room.
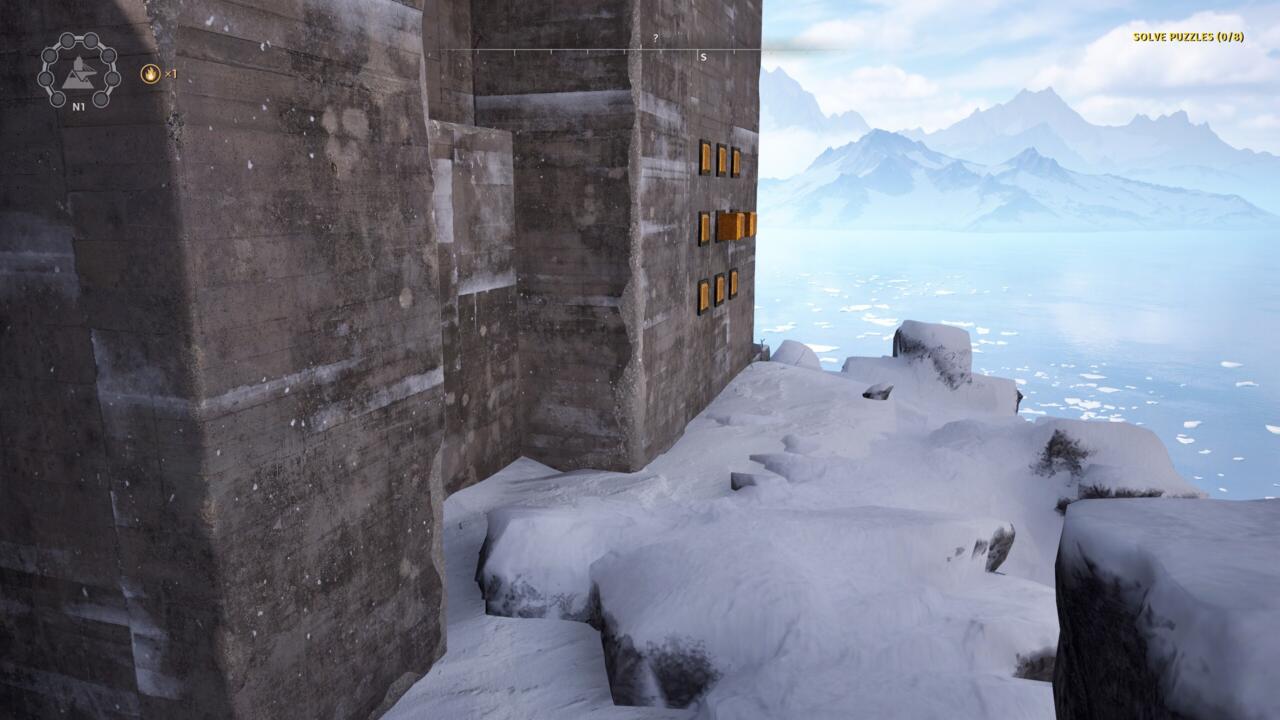
Find the second switch is on the southern exterior wall of the no.
2 puzzle room, and can be tough to spot because of the ridges in its design.
Look for a palm terminal pushing out into a pond near puzzle room no.
Pull that and you’ve completed the Sphinx puzzle and can return for your star.
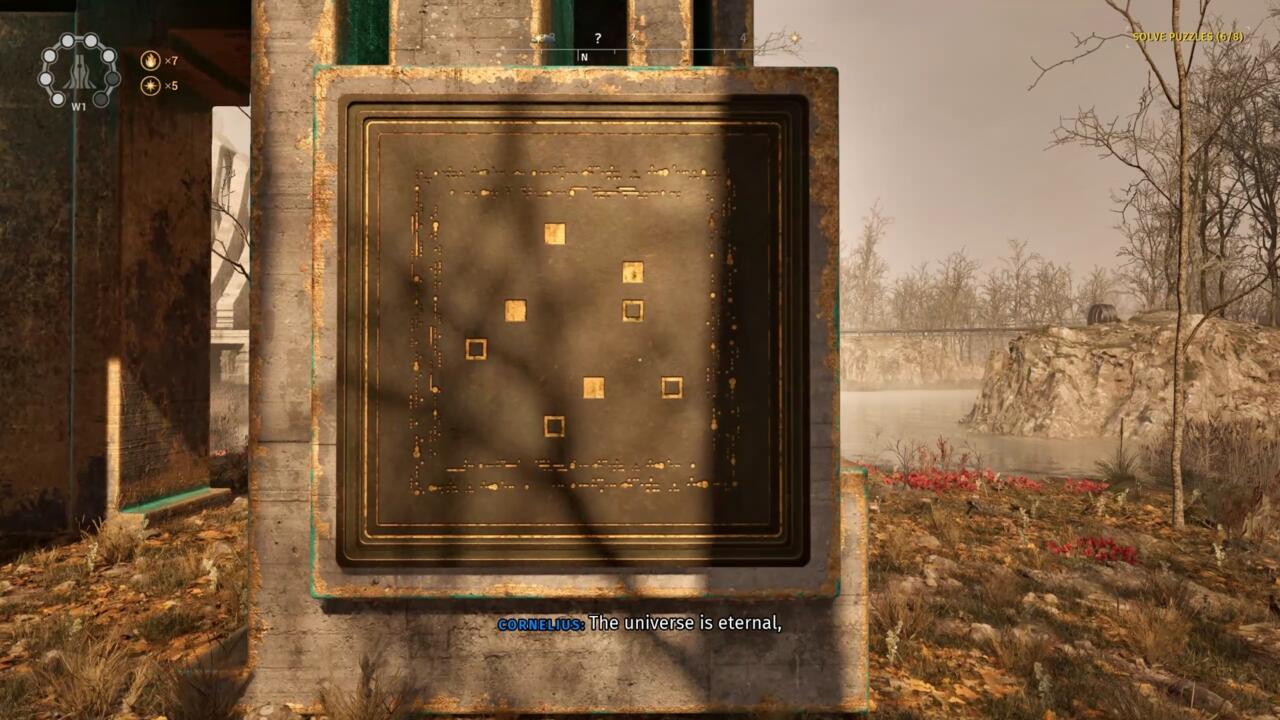
West 1
Head to puzzle room no.
7 to find the monument nearby, obscured by trees.
This one has another diagram of cubes on it that are both filled in and left empty.

Facing the entrance, walk around behind the puzzle room.
The pillars are easy to find, right behind the puzzle room itself.
To orient yourself with the plaque image, you gotta be facing east.
West 3
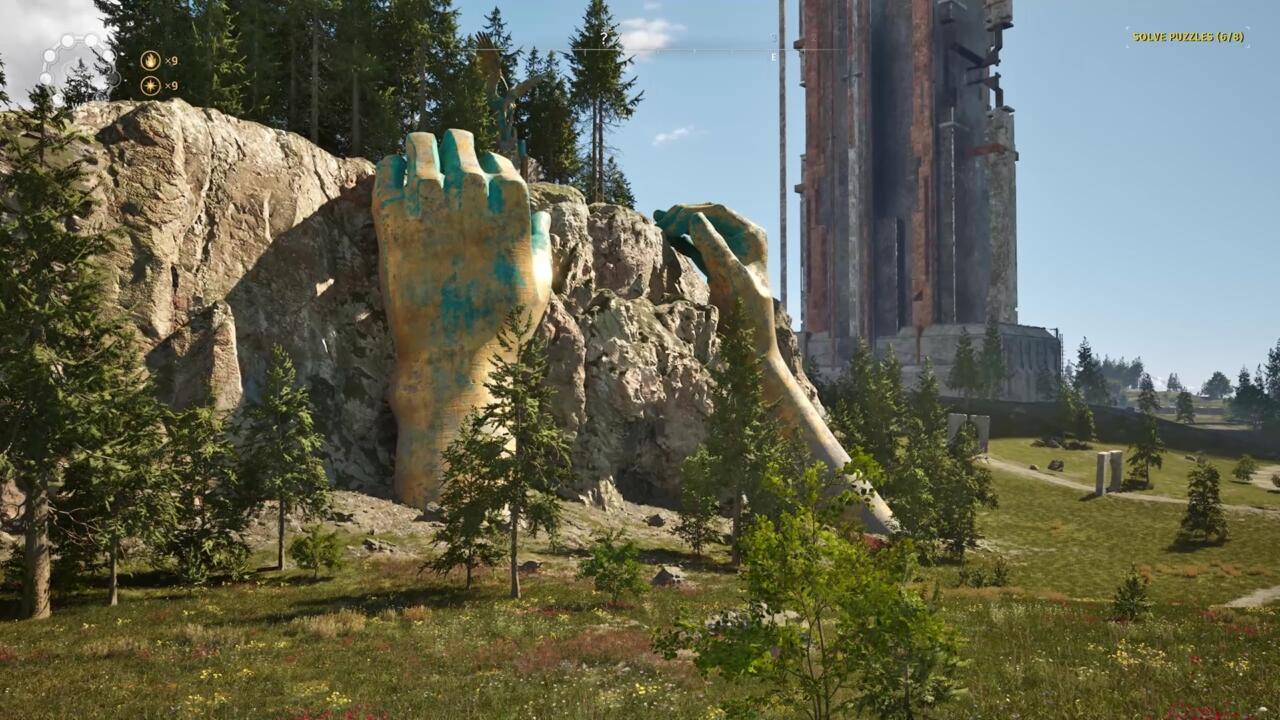
The final Sphinx monument is toward the north end of this area.
Look for a pair of big statue hands sticking out of the ground and grabbing onto a ridge.
The Sphinx is on top, between the hands.

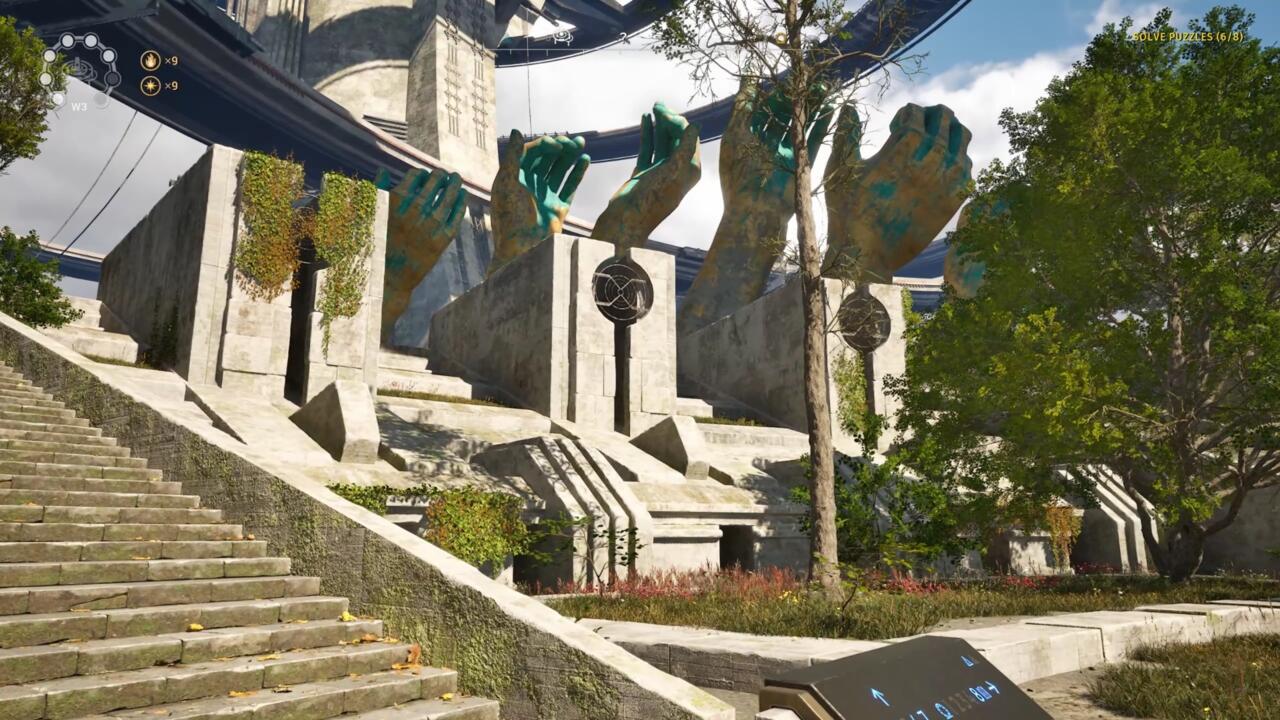
That area is fairly easy to find–it’s the section surrounding puzzle room no.
From the entrance, turn around and face the way you just came.
You want the next section of the ring to your left with the puzzle room at your back.
With the final switch thrown, you’ve completed all of the Sphinx puzzles in The Talos Principle 2.
There are still more stars to find, however, so check out ourPandora monument puzzles guidefor more help.
You should also read ourreview of The Talos Principle 2while you’re at it.
Got a news tip or want to contact us directly?