There are a whole lot of puzzles inThe Talos Principle 2, and some of them aren’t obvious.
Of all the secret puzzles, the Pandora statues tend to be the most vexing.
The good news is that there’s one very close by.

Head to puzzle No.
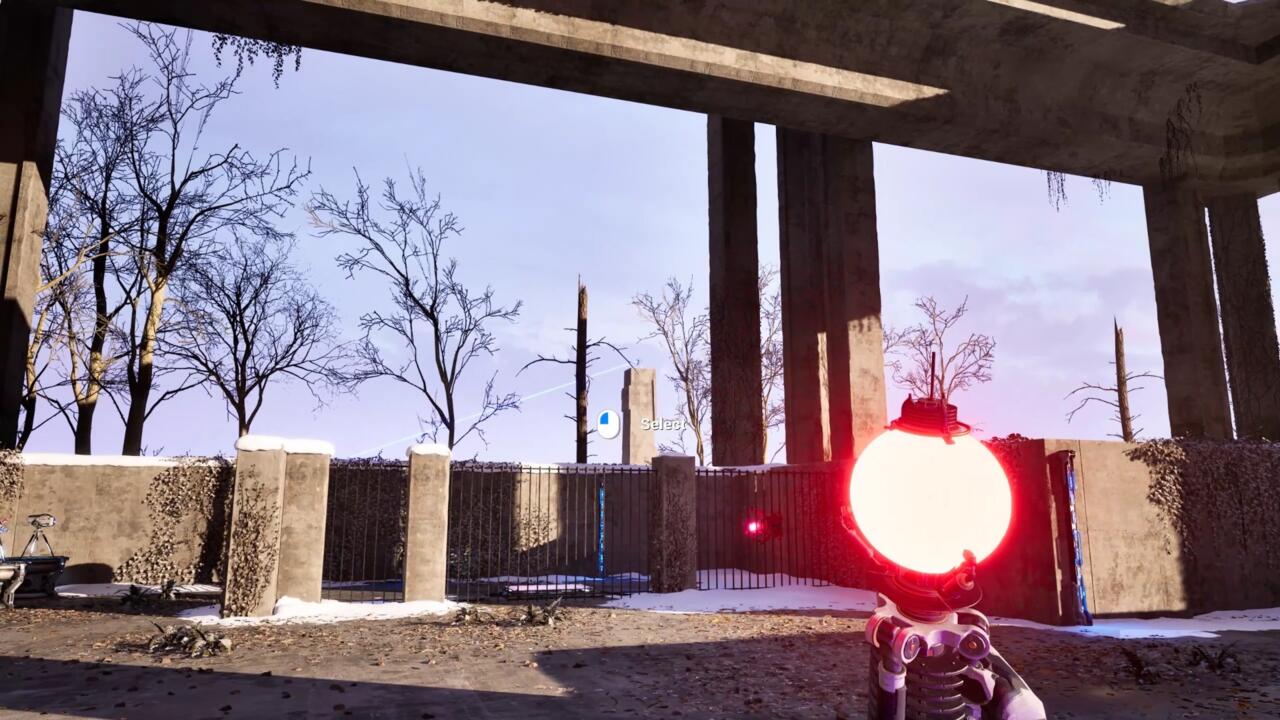
It’s best to solve the puzzle room first, which will deactivate all the forcefields.
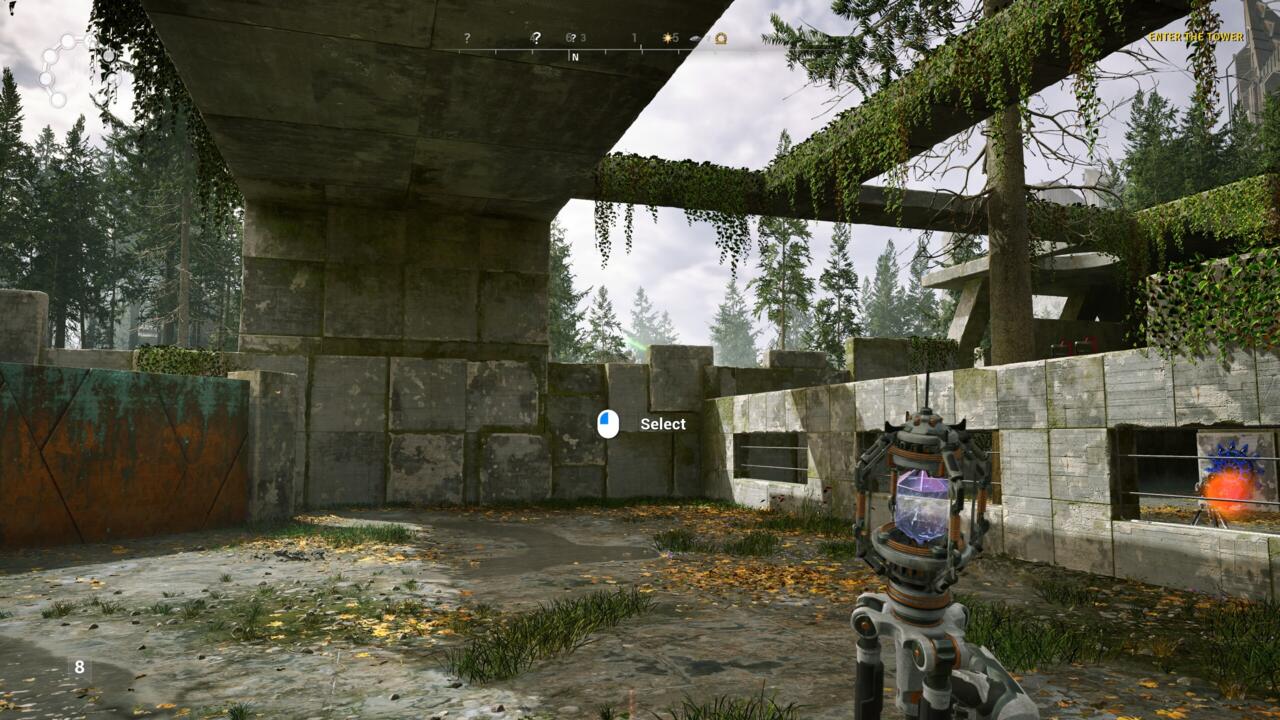
You need the crystal tripod, the RGB Converter, and the hexahedron (the cube).

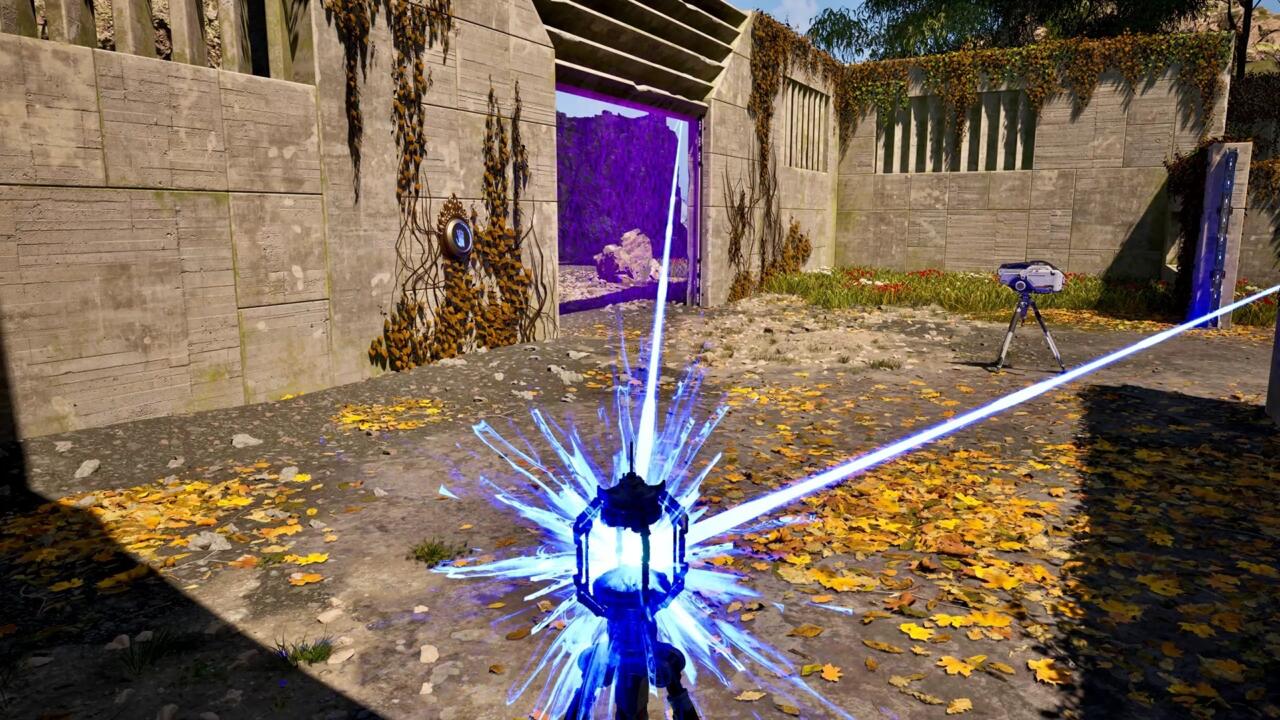
Head over to the fan and flip the switch to deactivate it.
Place the hexahedron on the deactivated fan, then grab the RGB Converter.
Connect it to the blue beam and the red crystal to turn it green.

With the RGB Converter in hand, connect it first to the green receiver next to the fan.
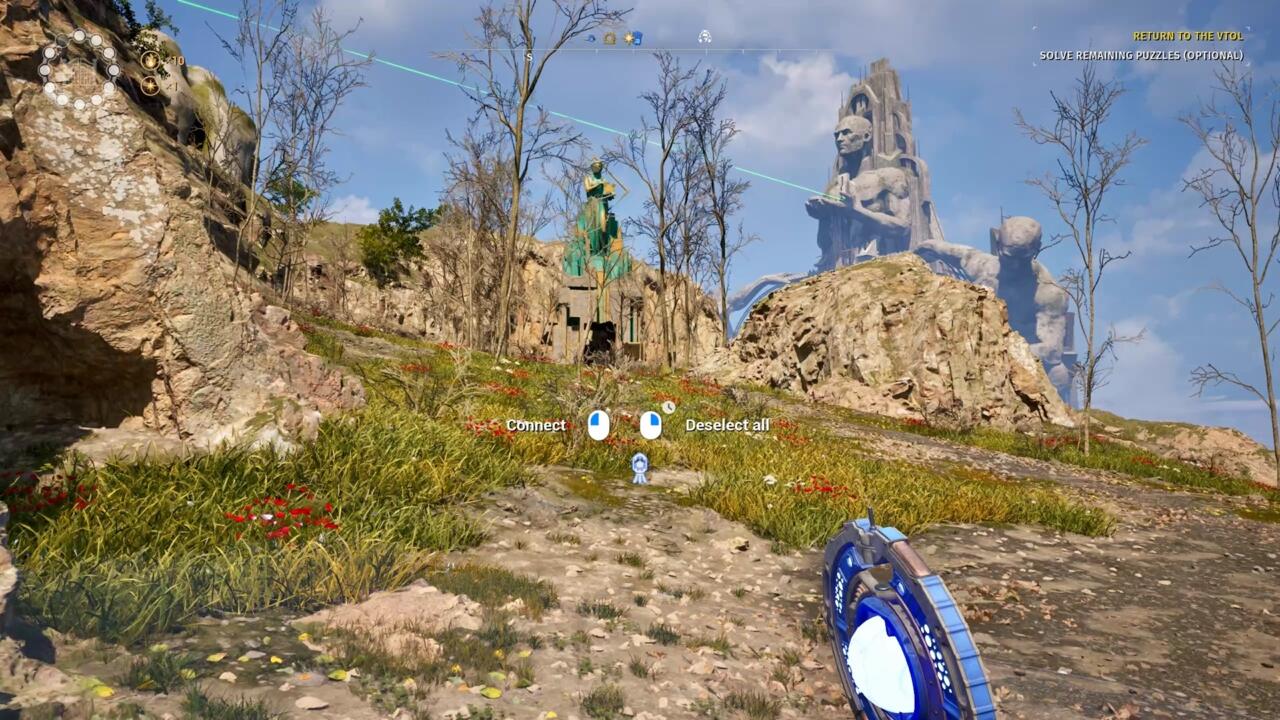
Now look over the exterior wall of the area.
You should be able to spot Pandora from here.
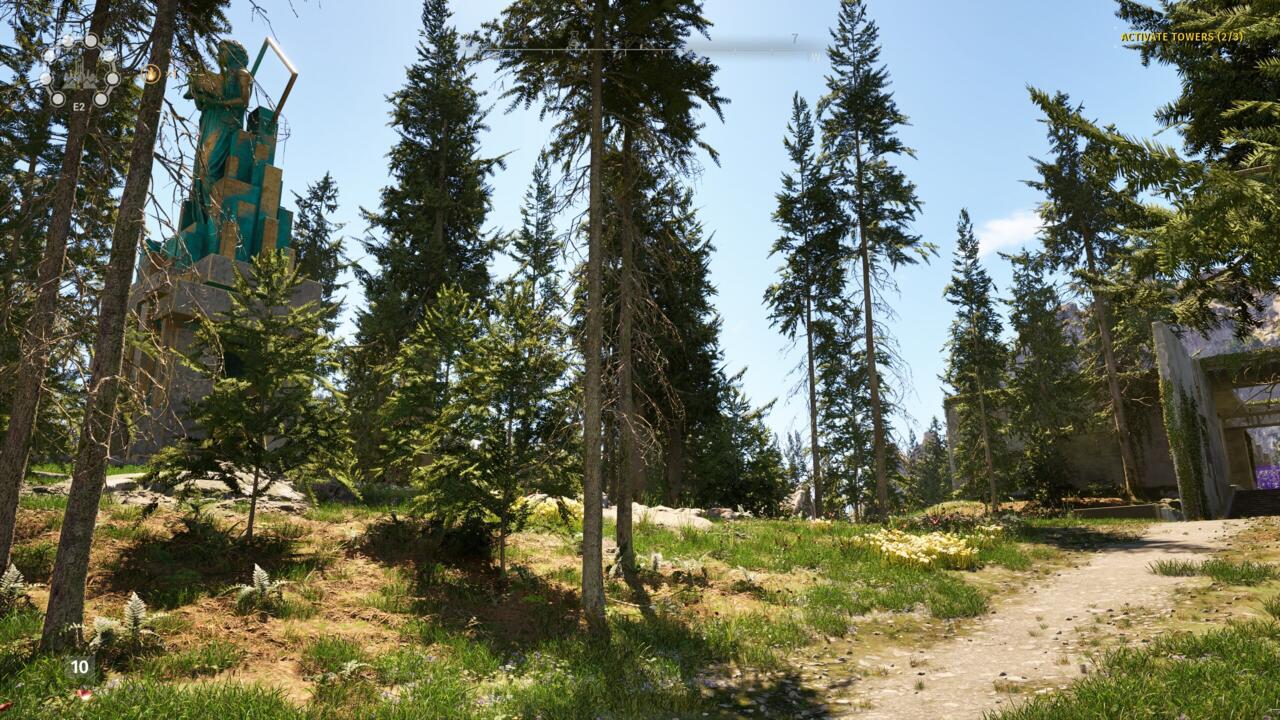
Connect the RGB Converter to the green receiver on Pandora’s box.
Finally, place the RGB Converter on top of the cube.
Return to the statue to snag a Star.

East 2
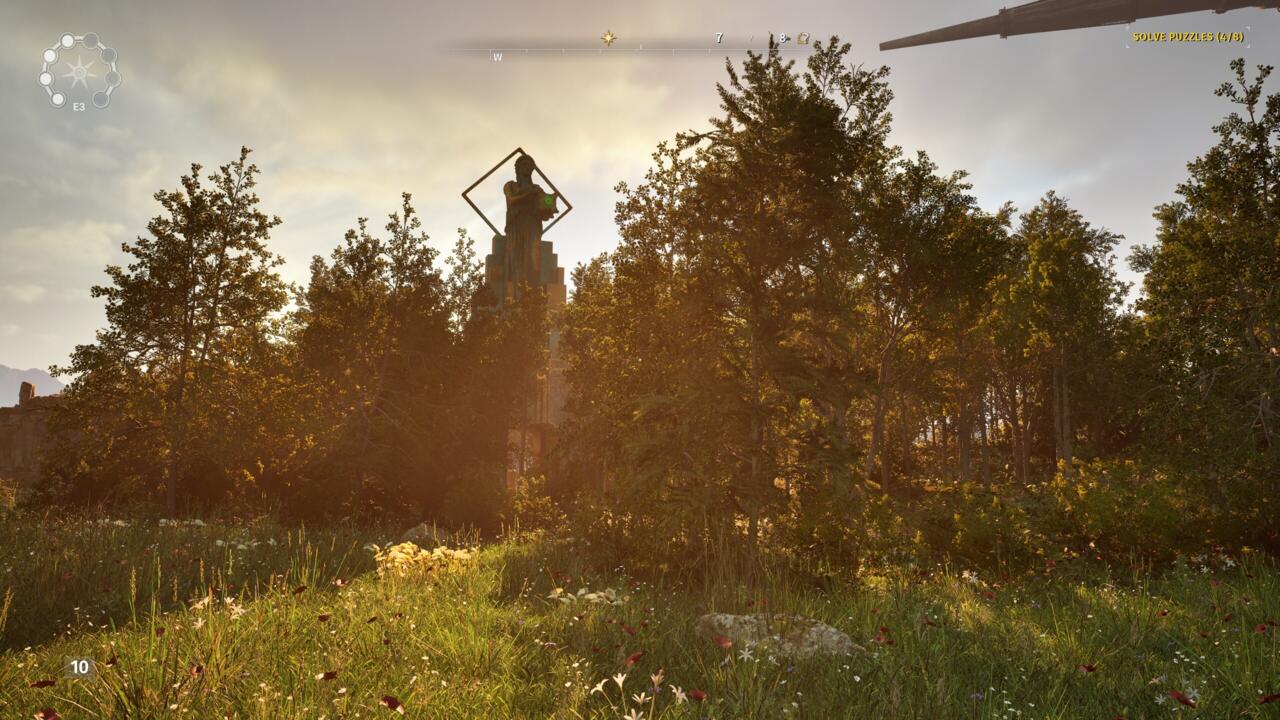
The Pandora statue in this case is near the no.
7 puzzle, but you’ll start at puzzle no.
Use the RGB Converter here to create a green beam.
Connect the RGB Converter to it to send a green laser bouncing across the whole area.
East 3
Head to puzzle no.
3, where you’ll find an Invertor and an RGB Converter.

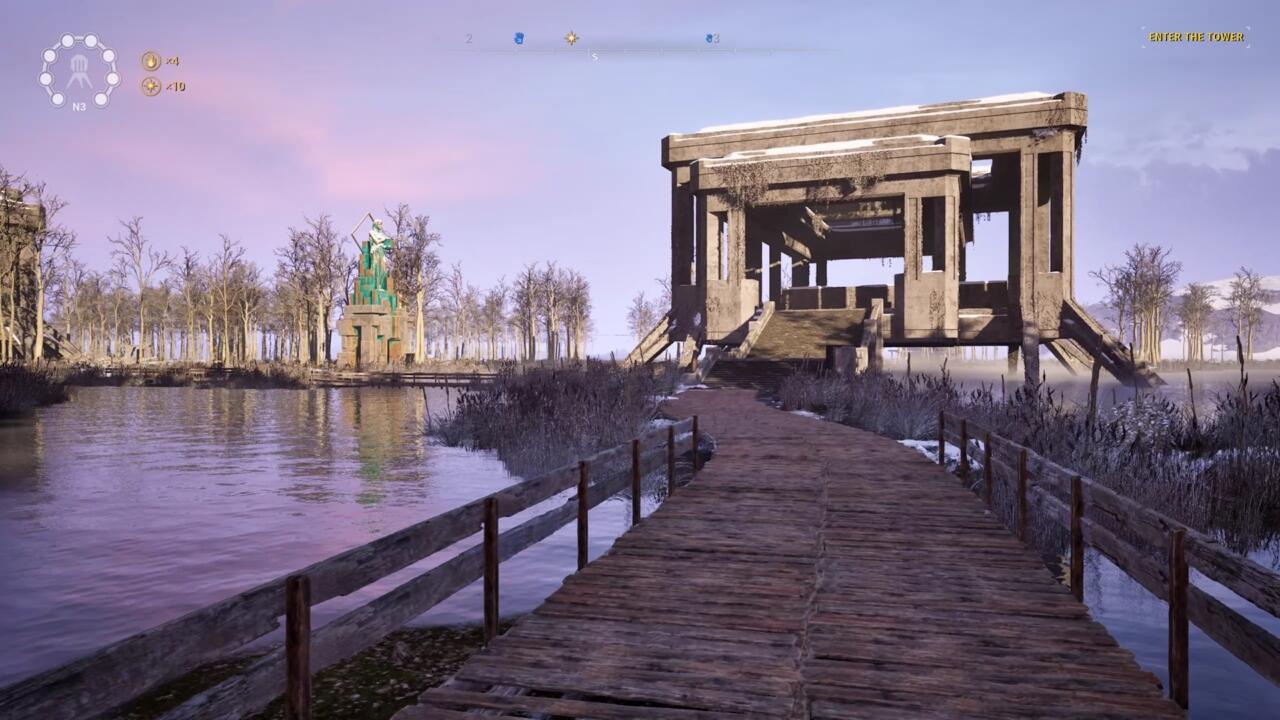
North 3
You’ll find the Pandora statue next to the no.
Once again, you’re going to need to bounce beams from other locations to this point.
You’ll need that to create the green beam needed to finish the puzzle.
First, head to puzzle no.
2, which is at the back of the Pandora statue.
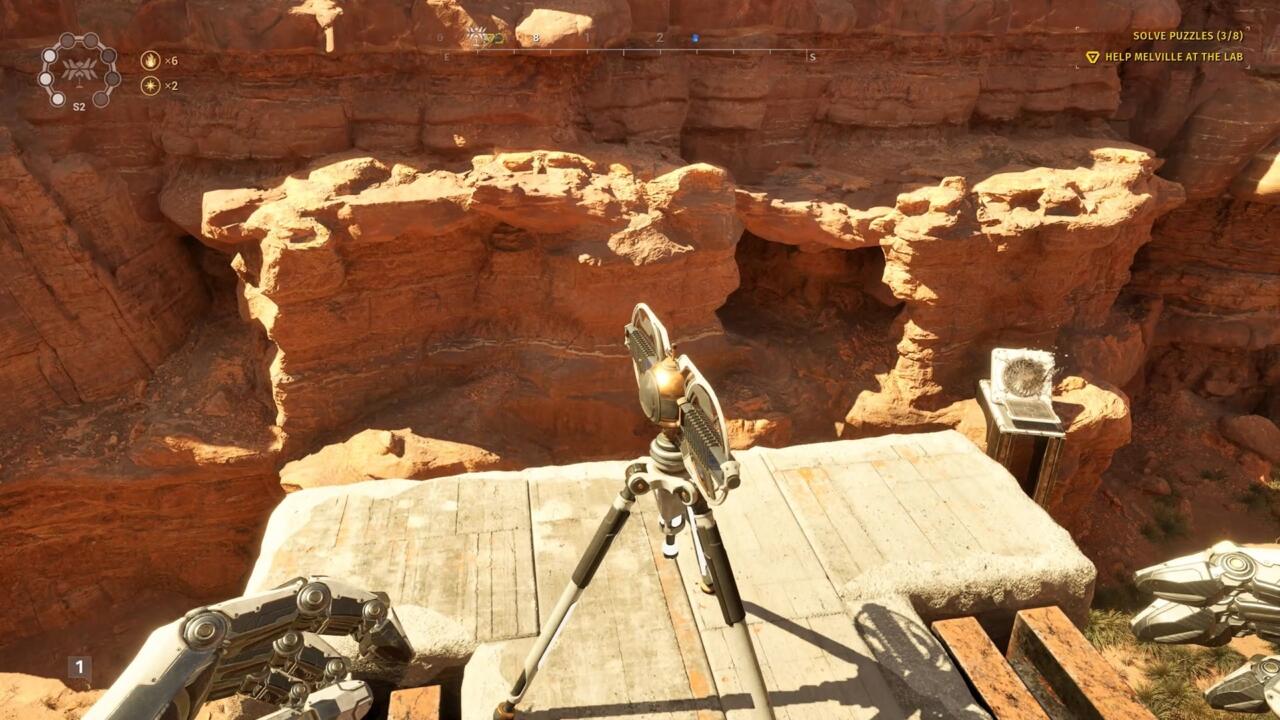
Use the fan to grab the cube on the ledge above it, then swap it for the Accumulator.
It can be tough to spot, but having the Accumulator in-hand should make finding the connection easier.
Drop the Accumulator on the ledge with the beam connected.
For the red beam, you’ll need higher ground.

Make your way to puzzle no.
Swap an item for the Accumulator and use it to capture the red beam.
Now return to puzzle no.

- you better connect the green beam created by the RGB Converter to the Pandora statue.
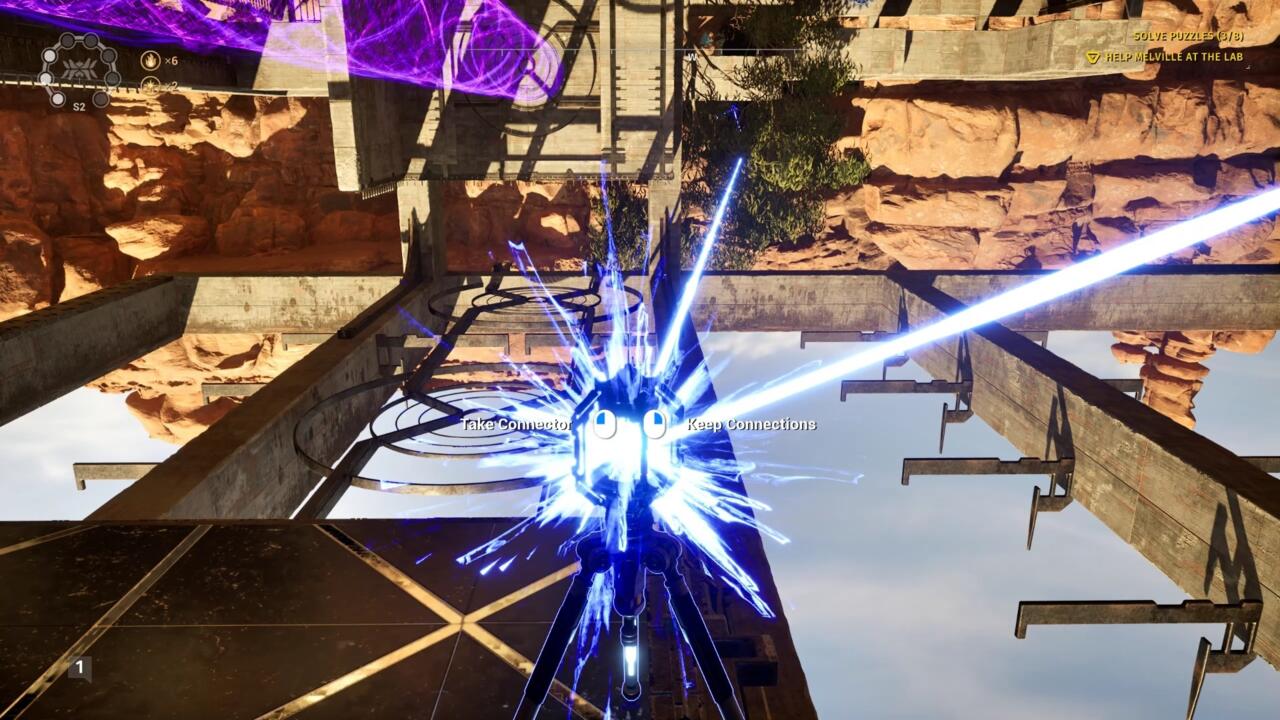
Find the Connector that’s bouncing a red beam around the puzzle room.
You won’t be able to hit your targets from this side, however.
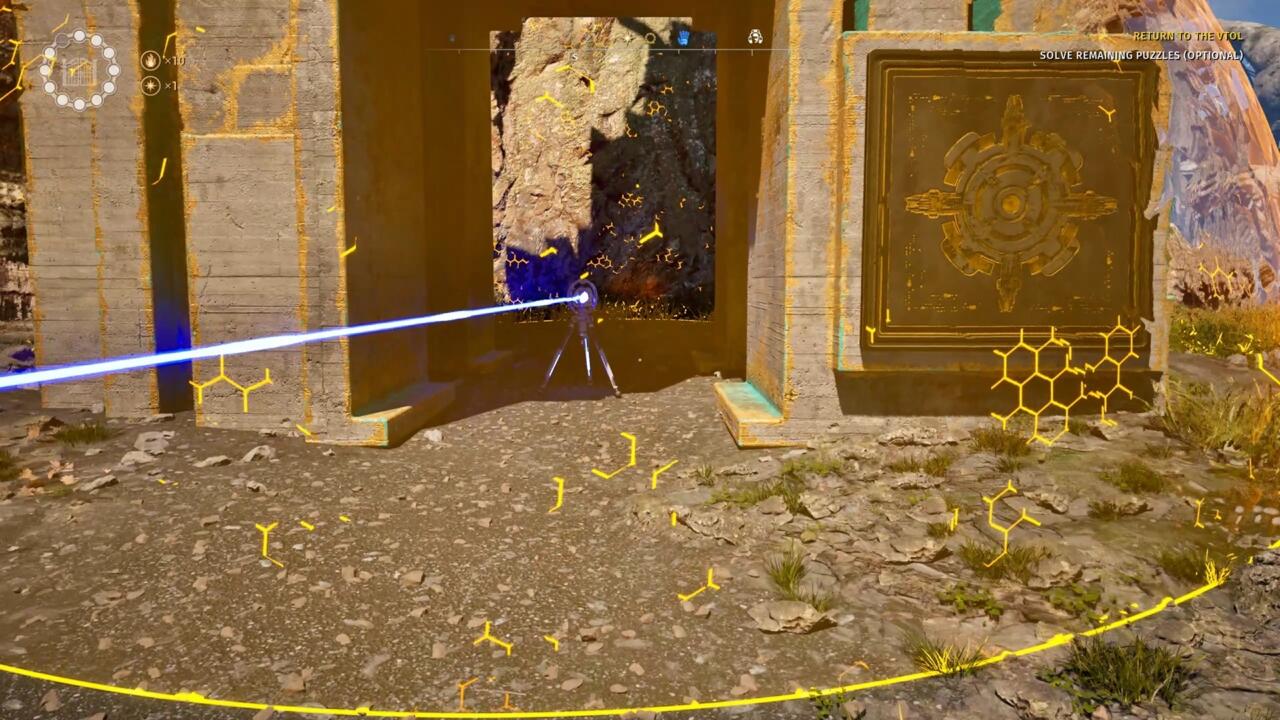
Aim the Drill at the wall and pass the Connector through the hole.
Run around to the other side and grab the Connector.
Start at puzzle no.

Zap a hole in it to reveal a green laser emitter hidden behind it.
At the top, you should see another Connector.
Bounce the green laser up to that Connector.
Next, you’ll need to go to puzzle no.
4, which is near no.
2 and slightly below it.

Inside, grab a Connector and look up toward no.
2 to spot the green Connector sticking out of the rock tower.
Connect to it and turn toward the transit station.
Bounce the green laser to that Connector and it’ll continue to the Pandora statue to complete the puzzle.
Start in puzzle room no.
Look up through this path and you’ll see a series of Connectors linked together.

You’ll need to bounce a laser to this group.
Back in the no.
2 room, look for the anti-gravity panels on the ceiling that create an L-shape.

Grab a Connector and use the fan to send yourself to the anti-gravity panel.
2 and return to the bonus puzzle room near the Pandora statue.
you could find it by following the blue laser.
To the left of the particle field is an anti-gravity panel high on the rock walls.
Use the anti-gravity column to reach a pathway there and head through the purple field to find an Inverter.
Connect the Inverter to the Connector that’s receiving the blue beam on top of the bonus puzzle room.
Here you’ll find a canyon that cuts through the rocks.
If you look up, you should spot a couple of fans.
After the second fan, you’ll find an RGB Converter.

Grab it and carry it back toward the Pandora statue.
That should give you a green beam that you could connect to the statue.
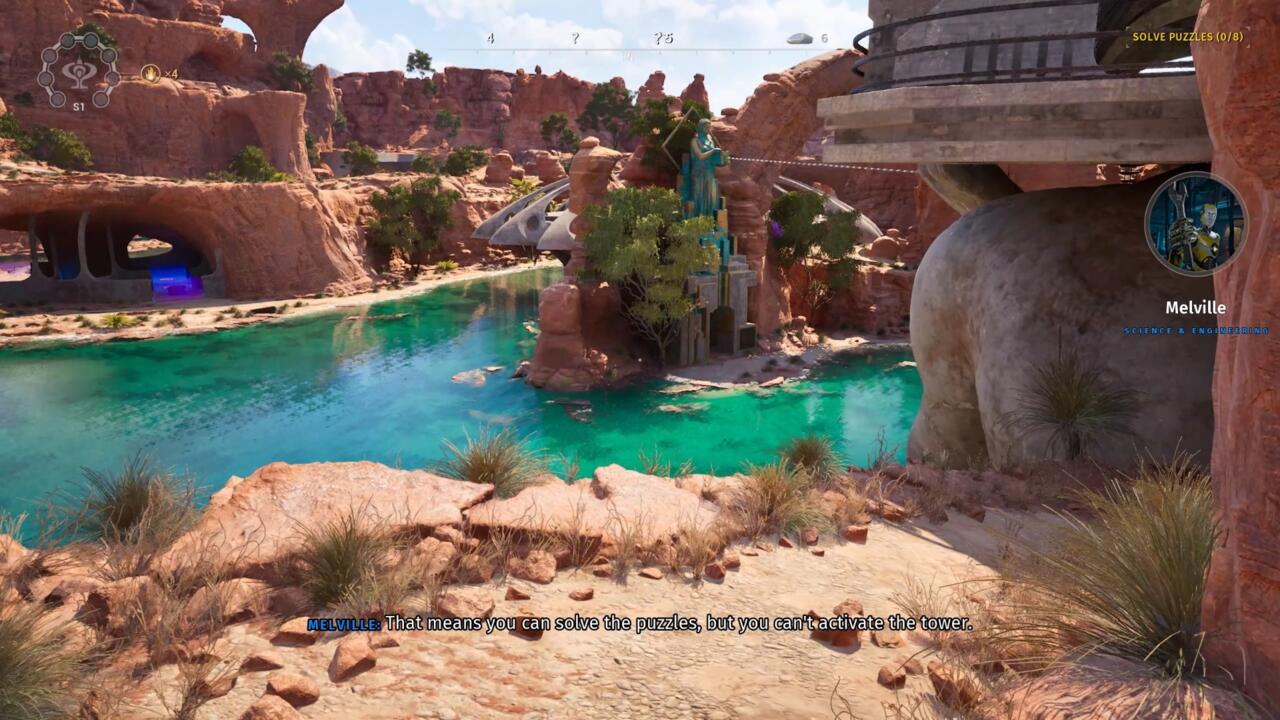
To solve this one, you have to activate a special switch.

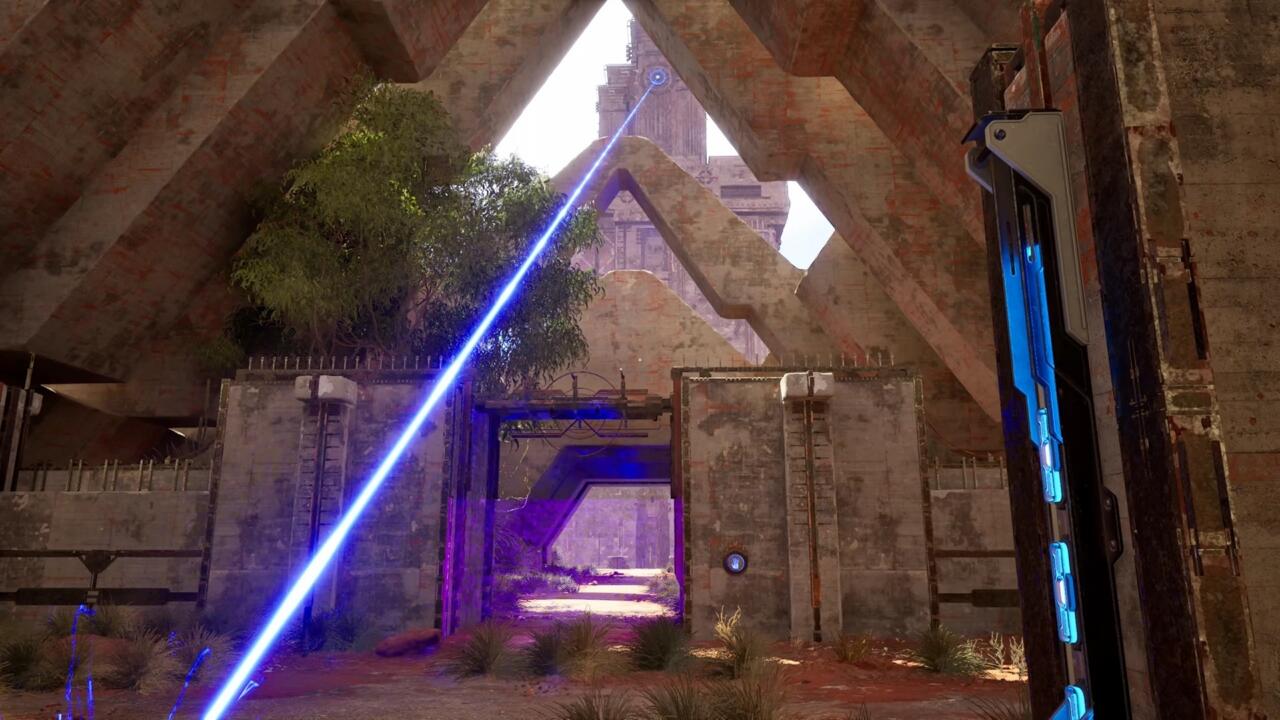
First, make your way to the no.
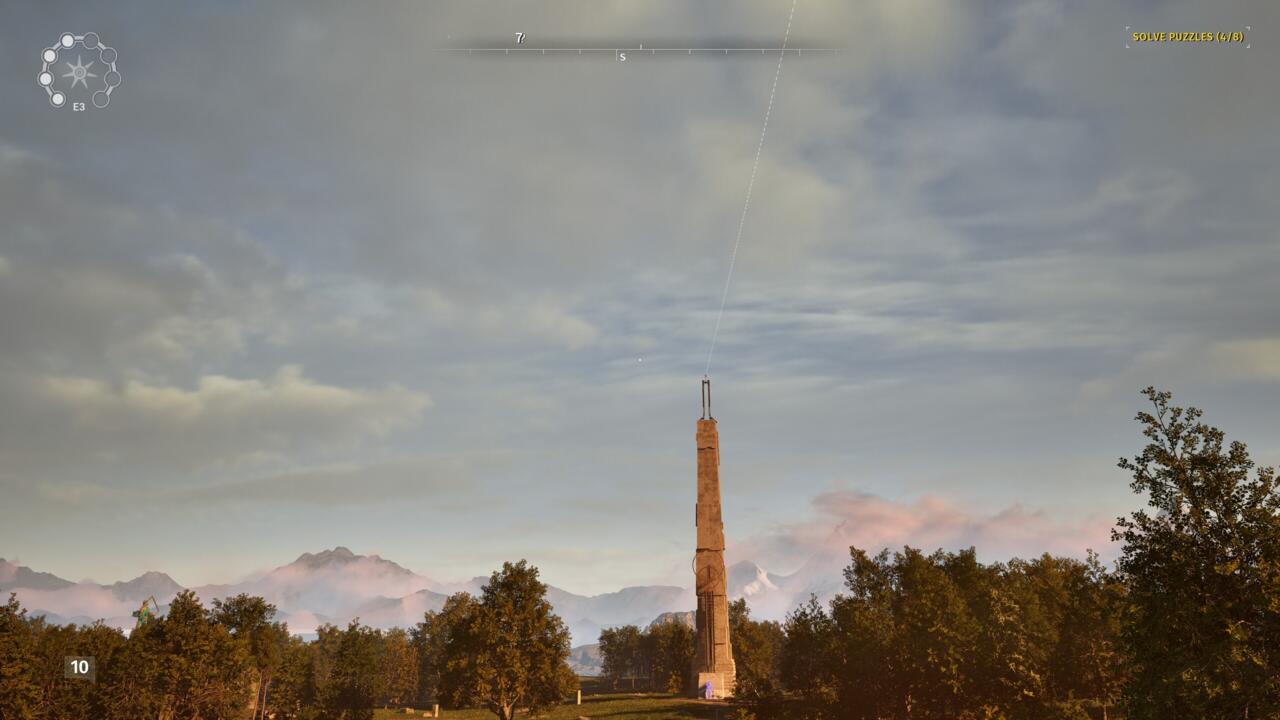
Turn around and look back through the entrance, and then up at the tower high above.
This is the key to solving the puzzle, and your first step.
Grab a Connector and connect the nearby blue laser to the receiver on the tower.
You’ll need to bounce a red laser to that Connector.
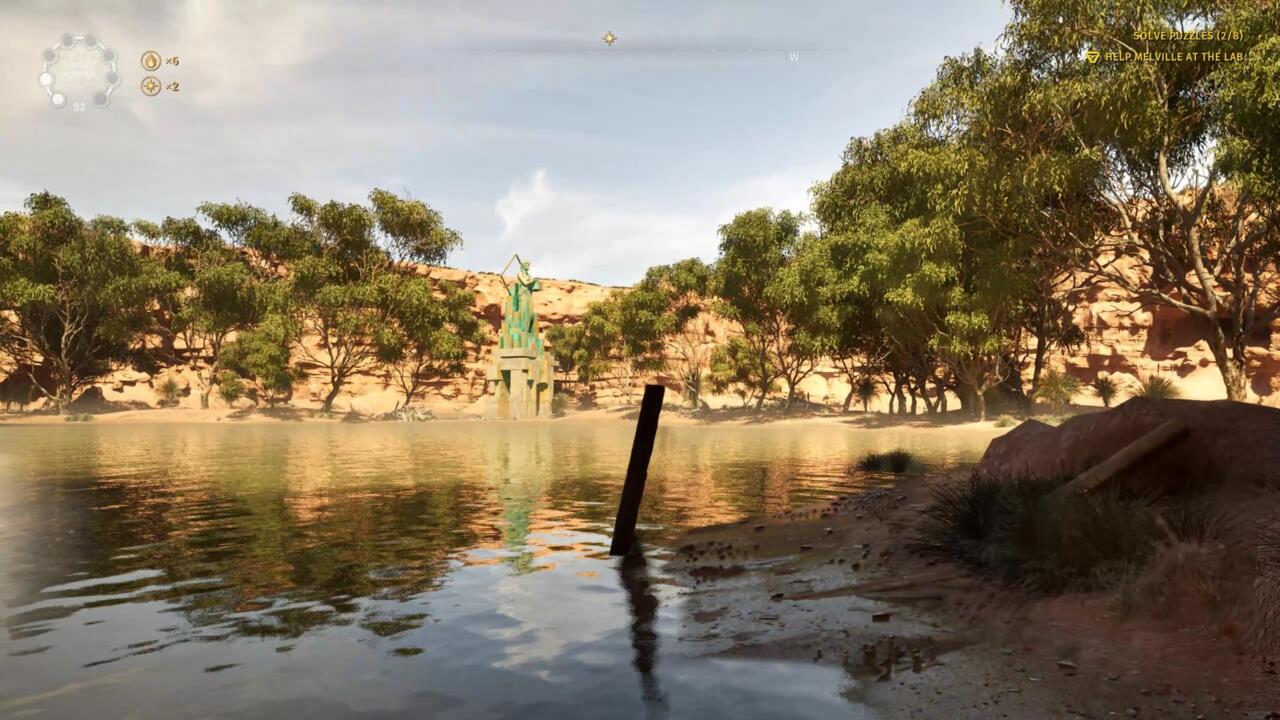
To get that red laser, leave puzzle no.

2 and go around behind it.
Head south into the desert to the bonus puzzle room nestled among the dunes.
Inside, you’ll find a red laser emitter.
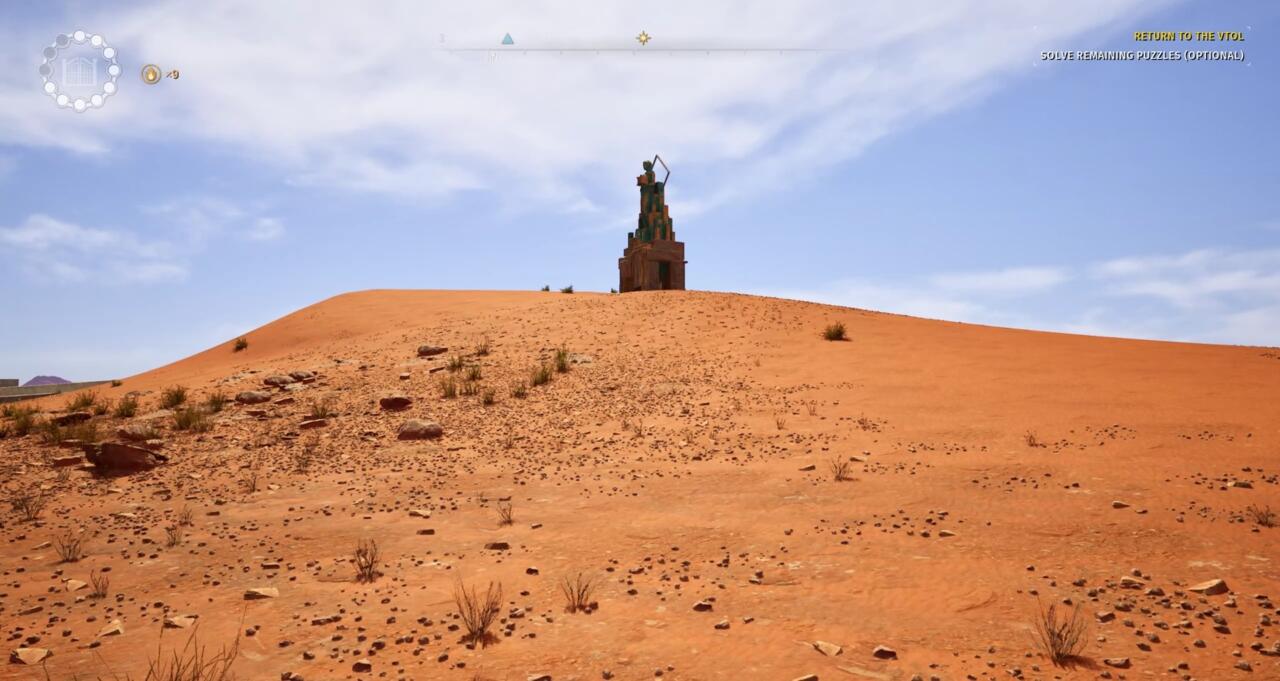
Use a Connector to send it up to the Connector that appeared on the tower near the blue receiver.
The final step is the most confusing.
Go all the way out toward the Pandora statue and the no.
3 puzzle room nearby.
Inside is the final Connector you need.
Grab it and place it on the elevator platform next to the pressure plate.

While standing on that platform, place the cube on the pressure plate to raise the elevator.
From here, you’ll be able to connect the red laser from the tower to the Pandora statue.
Until then, here’s how we solved the final Pandora statue.

Start by heading into the no.
4 room and grabbing a Connector.
you could make the connection through the purple entrance field pretty easily.

This is where things get tricky.
If you head to puzzle room no.
That tells you what you’ll need.
We never did find the necessary Quantum Driller.
However, you’re able to get a blue Activator out of puzzle room no.
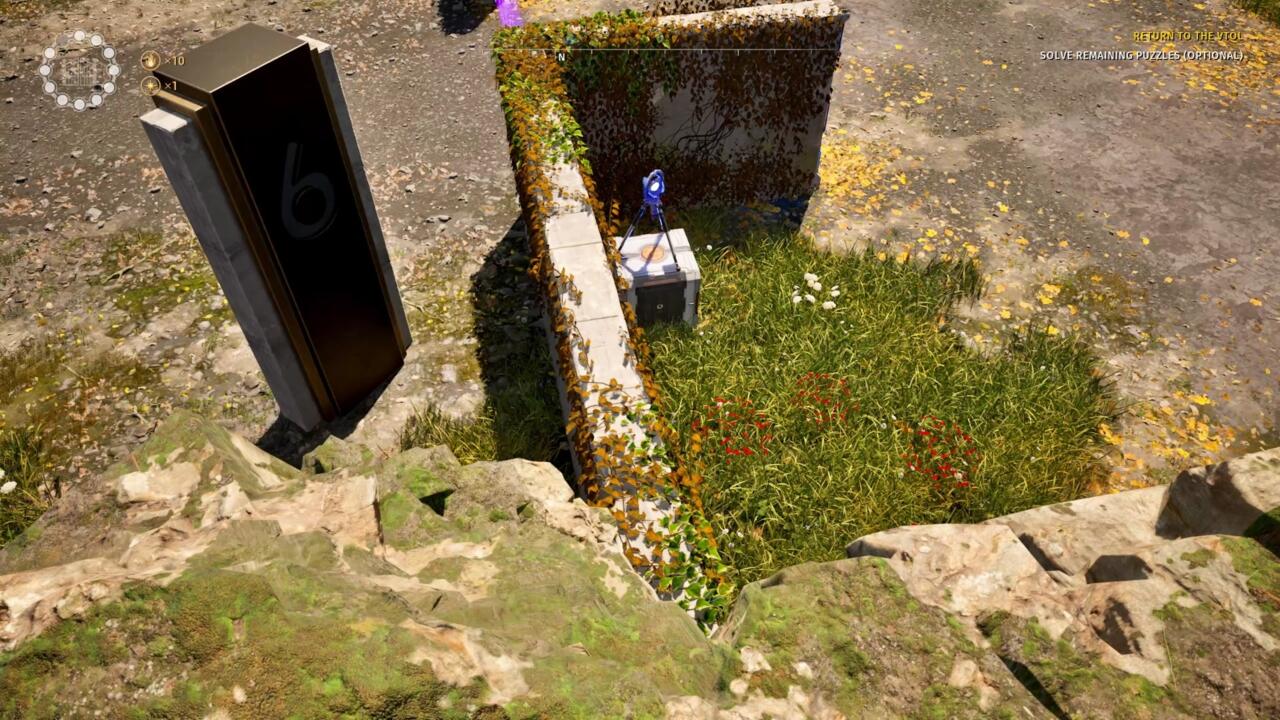
First, go into the puzzle room and grab a cube.
6 sign on the other side.
Park the cube next to the wall and then place a blue Activator on top.
Leave the room and go around to the left, past the no.

6 sign to where there’s a pile of fairly low rocks.
Now head back to the Pandora statue.
There’s no receiver for a laser beam on this one.
With that, you’re done completing Pandora puzzles in The Talos Principle 2.
Want more from the mind-bending puzzle game?
Read ourThe Talos Principle 2 reviewand check out ourguide to solving all the Sphinx puzzles, as well.
Got a news tip or want to contact us directly?
