Strap on your hiking boots, because you’ve got some climbing to do.
The northwest section ofElden Ring’sLands Between is home to an extremely dangerous region called Mt.
Like many other areas of Elden Ring, Mt.
Gelmir is a place crawling with dangers.
Gelmir is designed to kill you.
Arriving On Mt.

Gelmir
Getting to Mt.
Two of these methods involve being teleported to Volcano Manor, which lies at the top of the mountain.
To reach the top of Mt.
Gelmir by the more traditional method, you’ll need to have reached the Altus Plateau.
Congratulations, your journey up Mt.
Gelmir is just getting started.

She wants you to retrieve her stolen necklace and bring it back to her.
you could also kill him and take it, should you so desire.
That is, unfortunately, not the end of it.
When you’re in Volcano Manor, also ensure you look upstairs.
As such, this method is not recommended, as the other two methods are far easier.
Ascending Mt.

Thankfully, you might run by most of these foes.
Defeat her to earn a Furcalling Finder Remedy and Butchering Knife weapon.
In the shack near where she appeared, be sure to grab the Golden Vow incantation.
Continue to the end of the destroyed bridge to snag a Stonesword Key.
Once those items are collected, head back to the Bridge of Inequity Site of Grace.
Continue forward, hugging the left cliff face as much as possible.
Eventually you’ll come to an area with two torches and a tall ladder.
It’s time to climb!
At the top will be the First Mount Gelmir Campsite Site of Grace.
Battle your way to the top of the tower to score a Pulley Bow.
From there, you’ve got the option to go two ways.
To the left of the tower, through a wooded area, is the Gelmir Hero’s Grave.
To continue up the mountain, take the right path from the siege tower.
Continuing forward, you’ll encounter a Grafted Scion.
Defeat him or lure him away, as you’ll need to use the ladder he is guarding.
Making your way farther up the mountain.
At the top, you’re presented with more options.
Beware of the giant enemy hands that will pop out of the ground.
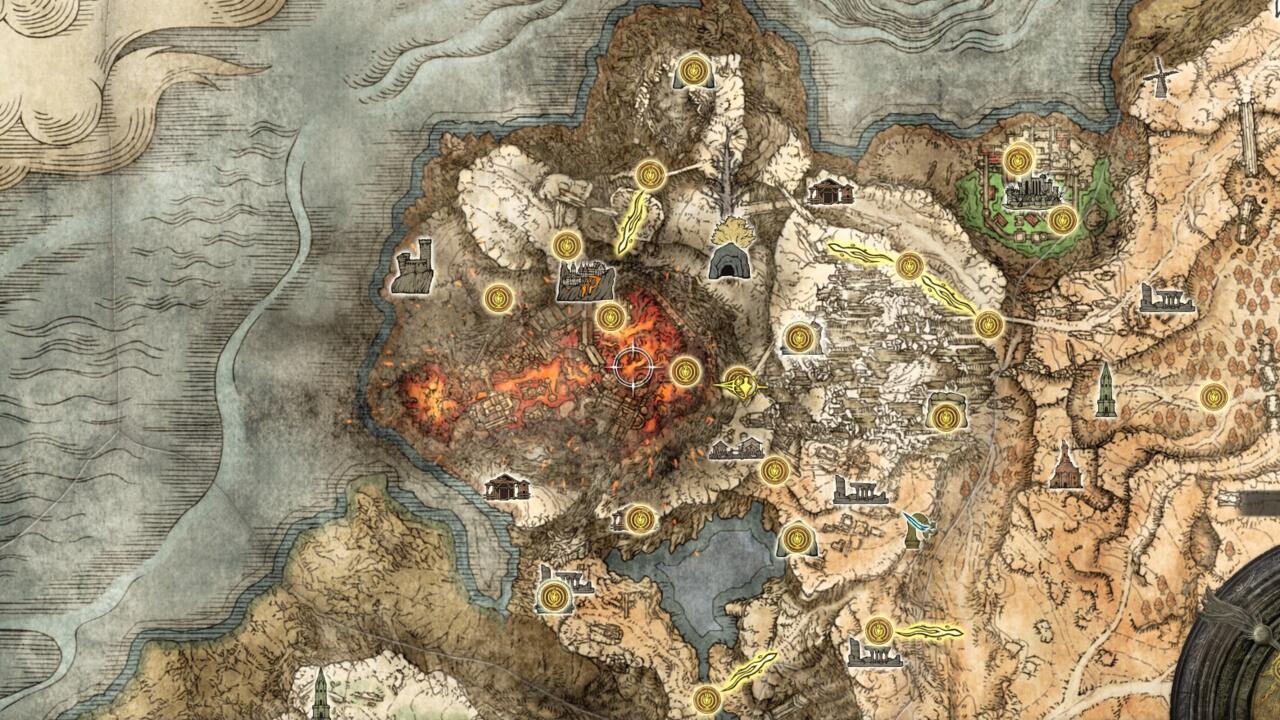
Keep making your way forward to find the map for Mt.
Gelmir, as well as the Road of Iniquity Site of Grace.
Thankfully, that’s not as hard as it sounds.
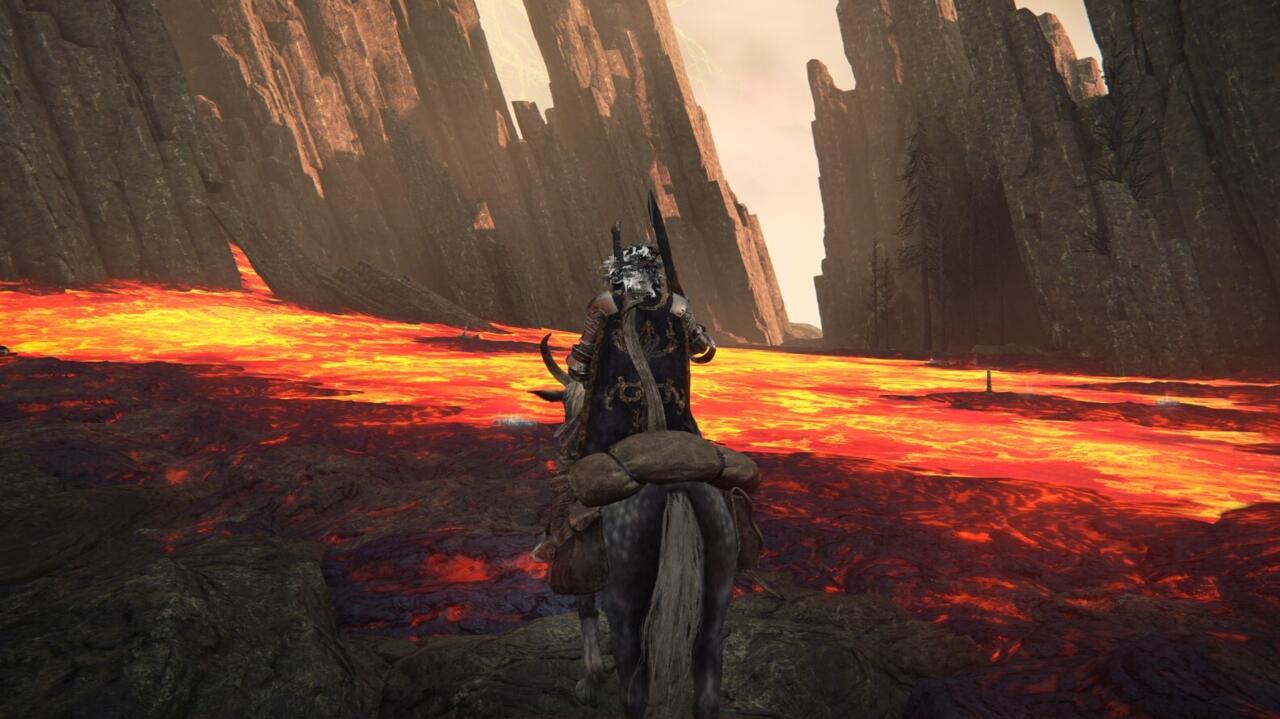
West of Fort Laiedd will be a lava-covered area.
Approaching it will cause a Magma Wyrm boss to spawn.
Ahead are a number of shacks and demi-human enemies throwing explosives, so be careful.
Clear out the enemies and loot the shacks.
As you move forward a massive Runebear will appear.
A shack to the upper left from where you came in will have the Roiling Magma sorcery.
Continue forward to unlock the Craftsman’s Shack Site of Grace and find a Pulley Crossbow.
A boss battle against Demi-Human Queen Maggie awaits you on the other side of the Hermit Village.
Defeating Maggie will reward you with a Memory Stone to increase your number of equipped sorceries and incantations.
Just past the boss area is a Site of Grace, along with a mysterious man made of crystal.
you might continue forward across a rock bridge to loop back around to the start of your Mt.
Gelmir journey, near the Gelmir Hero’s Grave.
Got a news tip or want to contact us directly?
