InSeason of the Seraph, Bungie launched its second dungeon, Spire of the Watcher, forDestiny 2Year 5.
This season centers around secret bunkers and Golden Age technology, making this Mars dungeon a perfect setting.
The first objective is to complete the dungeon.
Load into the dungeon from the Mars location in Savathuns Throne World.
The enemies will constantly spawn in, and one of the Cyclops may return even after being defeated.
Defeating a Minotaur drops a large circular Arc buff called “Arctrician” that lasts for 30 seconds.
In case you need another buff, Minotaurs do spawn several times.
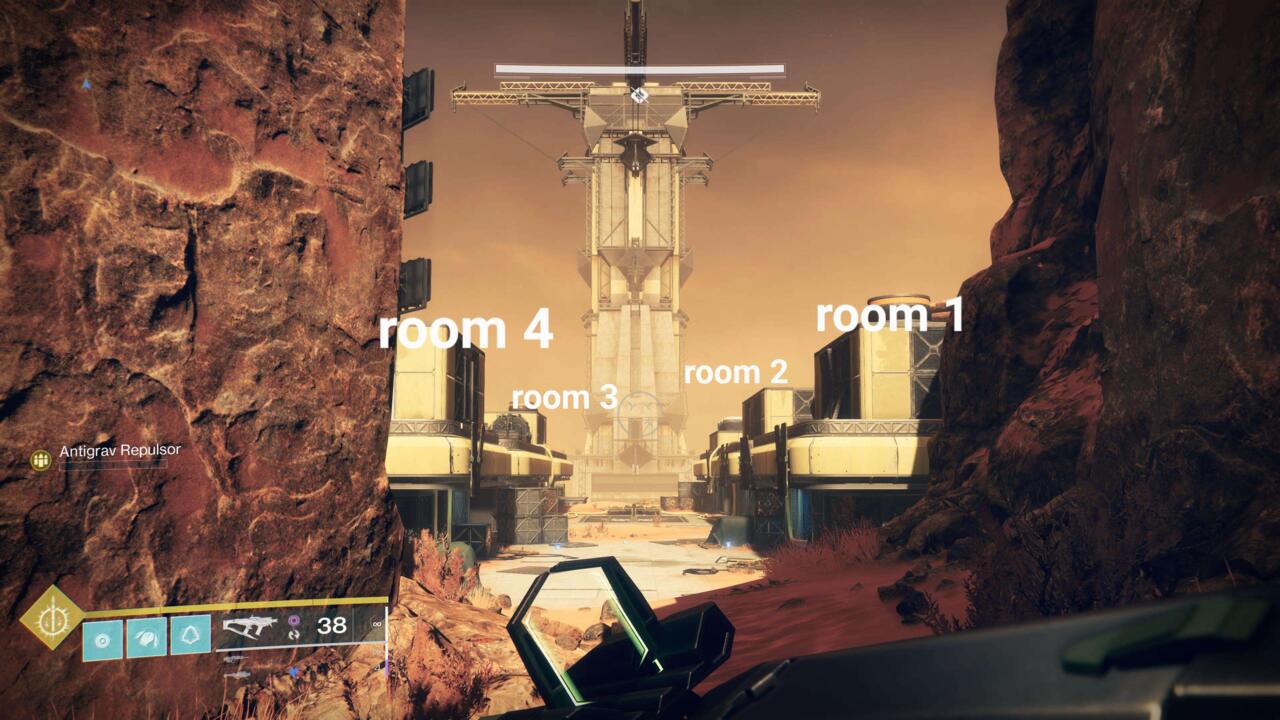
The first room has five nodes, and the last cord connects to the center.
When facing the spire, Room 1 is closest to you on the right side.

There should be a hole in the floorboards inside the room.
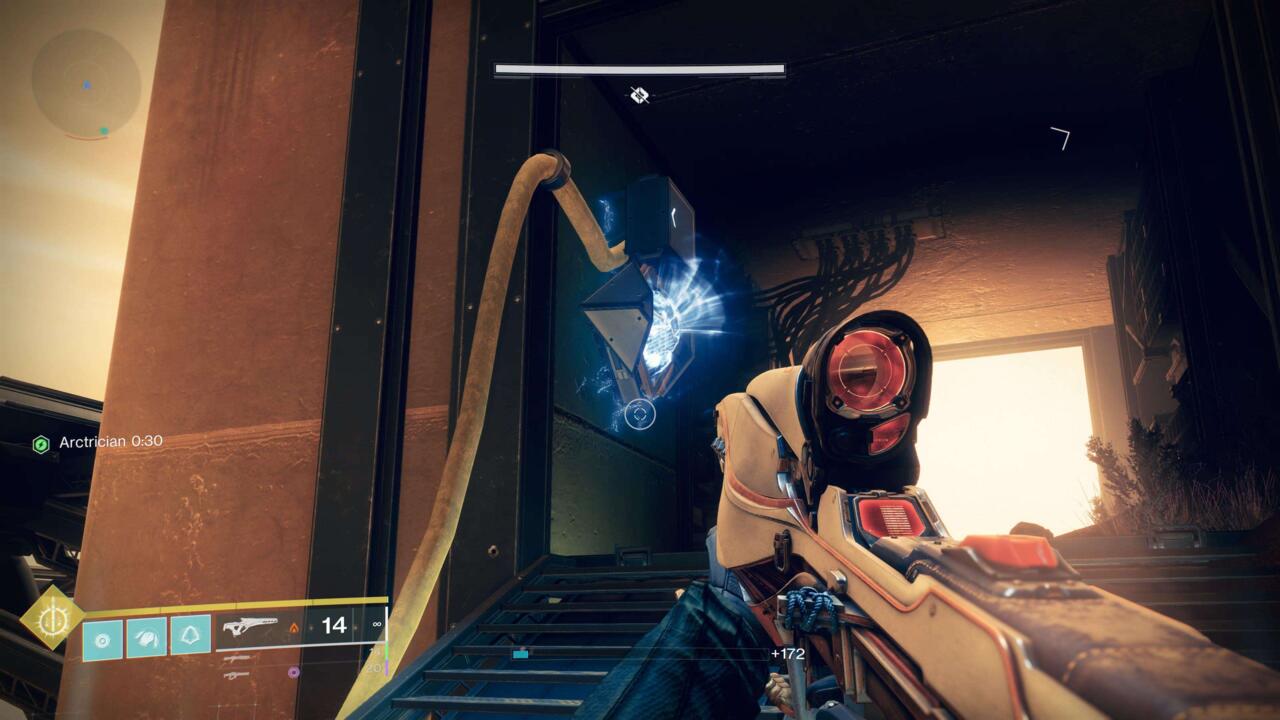
Jump down and shoot the diamond shape node to start the mechanic for this room.
There are three more inside Room 1 and one outside of the room.
Go to the center of the area and connect the circuit to the bottom right node.
Room 2 is next to Room 1, still on the right side of the map.
The first node is in the back of the area, attached to the side of the building.

Lastly, connect the circuit to the top right node by the door.
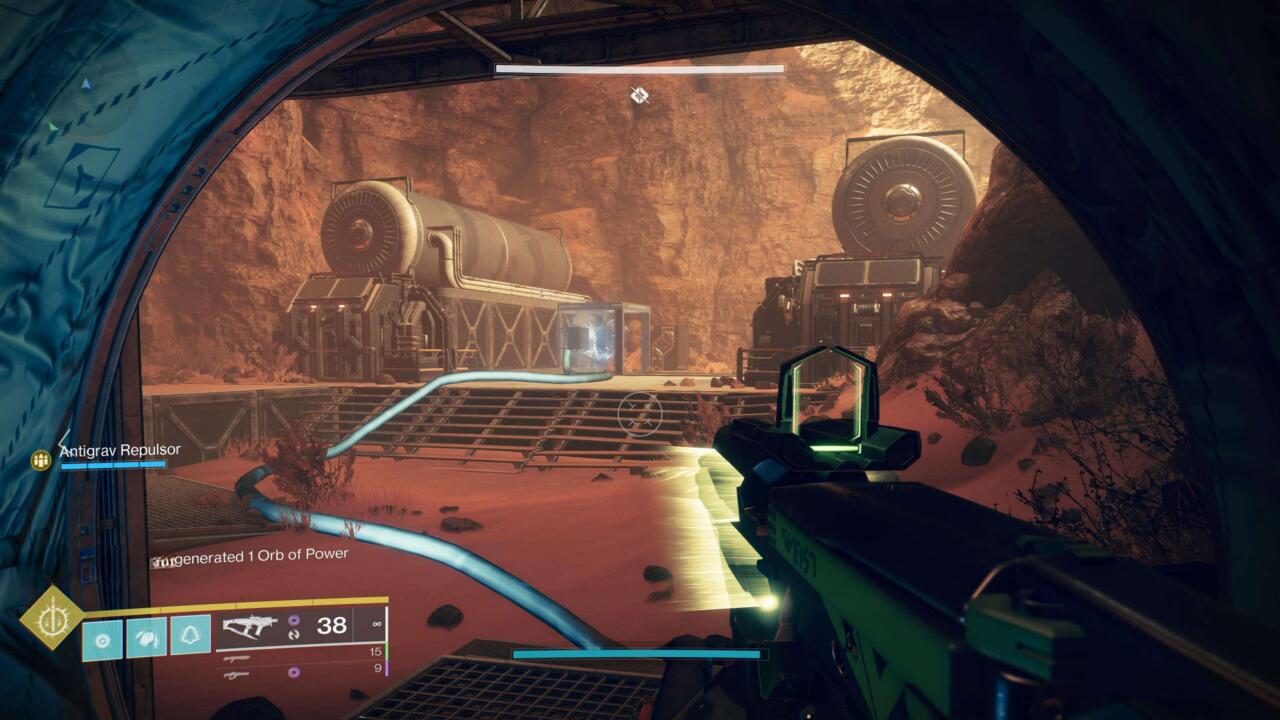
This room is opposite Room 2 and has a tunnel that connects to a large generator.
The first node for Room 3 is there.

Then, at the center, shoot the bottom left node to complete this room’s circuit.
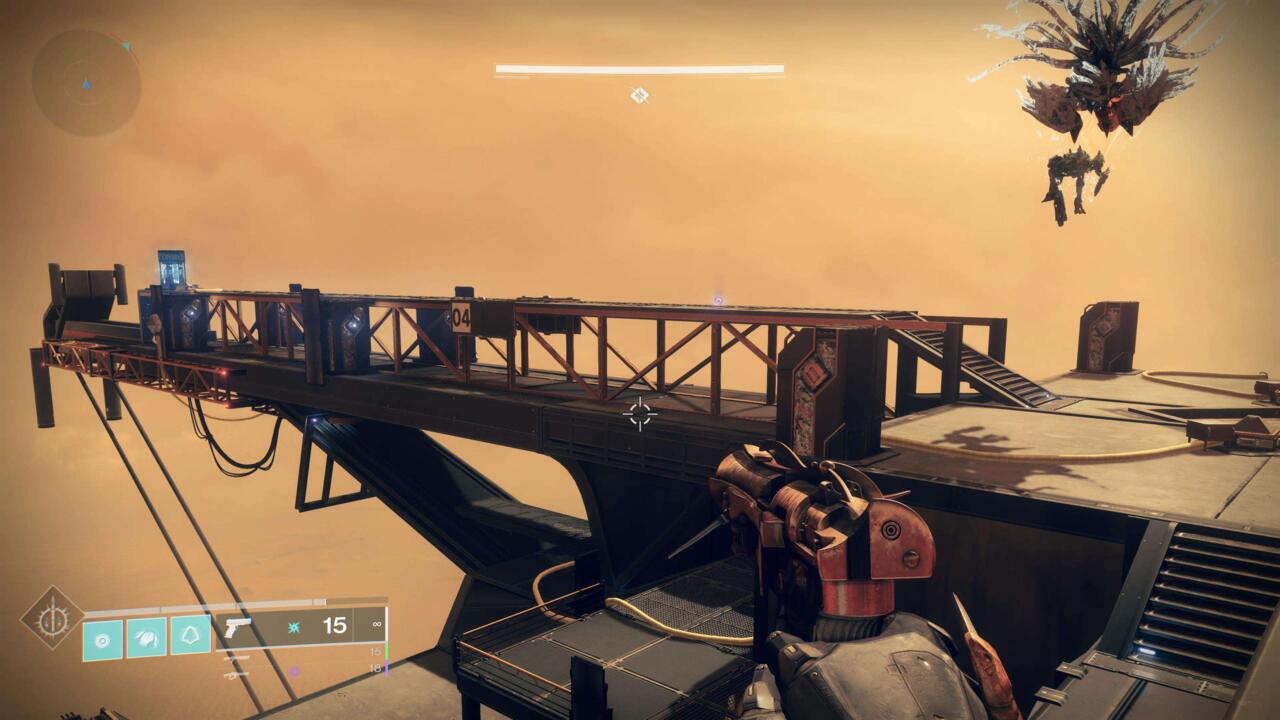
The starting node is on top of Room 4, inside a much smaller room.
Next, exit the room and cross the bridge, the second node should be directly beside you.

Jump down, and the third node is directly below the second one.
The other two nodes are on Room 3s rooftop, as well.
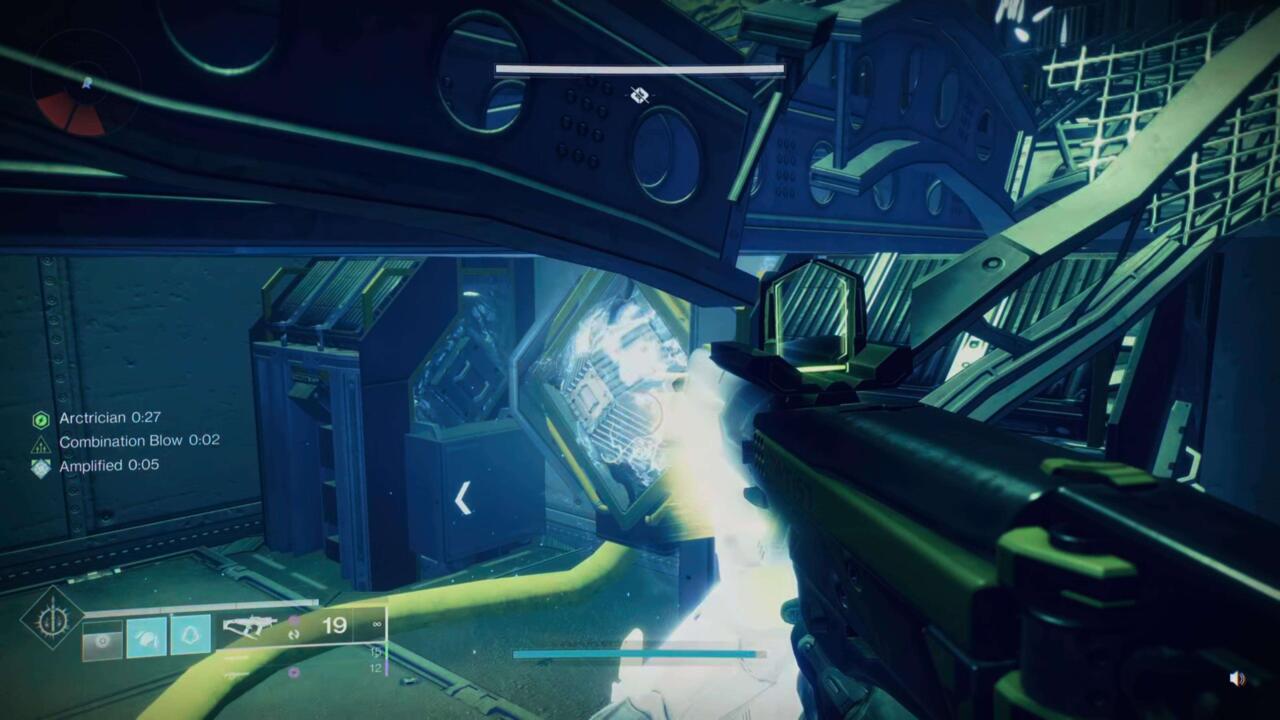
Slide down from the entrance, then jump onto the catwalk above and through the yellow-lit vent.
In the room, climb up the catwalk above and make your way to the other side.
Drop down and defeat enemies and go up the lift.
Arriving at Ares Spire, place a Rally Flag.

Defeat the lone Conduit Minotaur for the Arctrician buff and begin the mechanic.
Even in this small area, enemies will spawn, and jumping can become tricky.
After completing the nodes, head up the lift for Part 2.

Ascend the Spire Part 2
More nodes!
Jump onto the solar panels to dive into the end nodes.
Also, each side will have five nodes.

Head up the lift for Part 3 of Ascend the Spire.
Ascend the Spire Part 3
Its a bit more complicated this time since the cords do intertwine.
Jump up the shaft and onto the catwalk.

kick off the window and jump to the subsequent encounter.
Silence the Siren Boss Fight
This fight requires you to complete the circuit mechanic.
The giant Harpy boss, Goblins, Harpies, and Conduit Minotaurs will spawn throughout the fight.

There are four starting nodes at the center of the map.
Youll need to connect four circuits, that, thankfully, dont overlap.
For Bridge 1, the starting node is in the center.
There are two nodes on the lower level of the square platform.
The last one is by the fuel rod.
For Bridge 2, the starting node is in the center.

The last one is by the fuel rod.
The last one is by the fuel rod.
For Bridge 4, the starting node is in the center.

The last one is by the fuel rod, again.
Akelous will come directly to you and open its shell.
After Akelous becomes vulnerable, deal damage to the boss by shooting at its glowy center.

Linear fusion rifles work really well here, but you could use a rocket launcher too.
The damage goes by quickly, which makes remote Supers, and Well of Radiance efficient.
Repeat the steps to defeat Akelous.

From the center, descend into the Pillory-0 Cell Stack.
Pillory-0 Cell Stack Doors
The cords here are red, which means that these are timed circuits.
Carefully descend through the fan blades, then shoot the next set of red cord nodes.
Drop into the Pillory Stack Containment and defeat enemies.
Avoiding the electric pulses in the center, shoot the final node at the center.
Finally, drop down to the Seraph Reactor Core for the final boss fight.
Persys, Primordial Ruin Final Boss Fight
The boss fight requires red and yellow cord circuits.
Also, Void damage resistance and Concussive Dampener mods can help with the incoming damage throughout the boss fight.
Defeating the Hydras opens the doors to the other side and spawns the Conduit Minotaurs.
With Arctrician, shoot the red cord nodes first.
There are four on the pillars and one above the big doorway.
Reactor Isolation Chamber Active.
When you get this message, an alarm will ring.
As soon as the red cord nodes open, shoot them.
The message on the bottom left will tell you that Persys is vulnerable.
The precision damage spot for Persys is the small glowy center, which can be tough to target.
Got a news tip or want to contact us directly?
